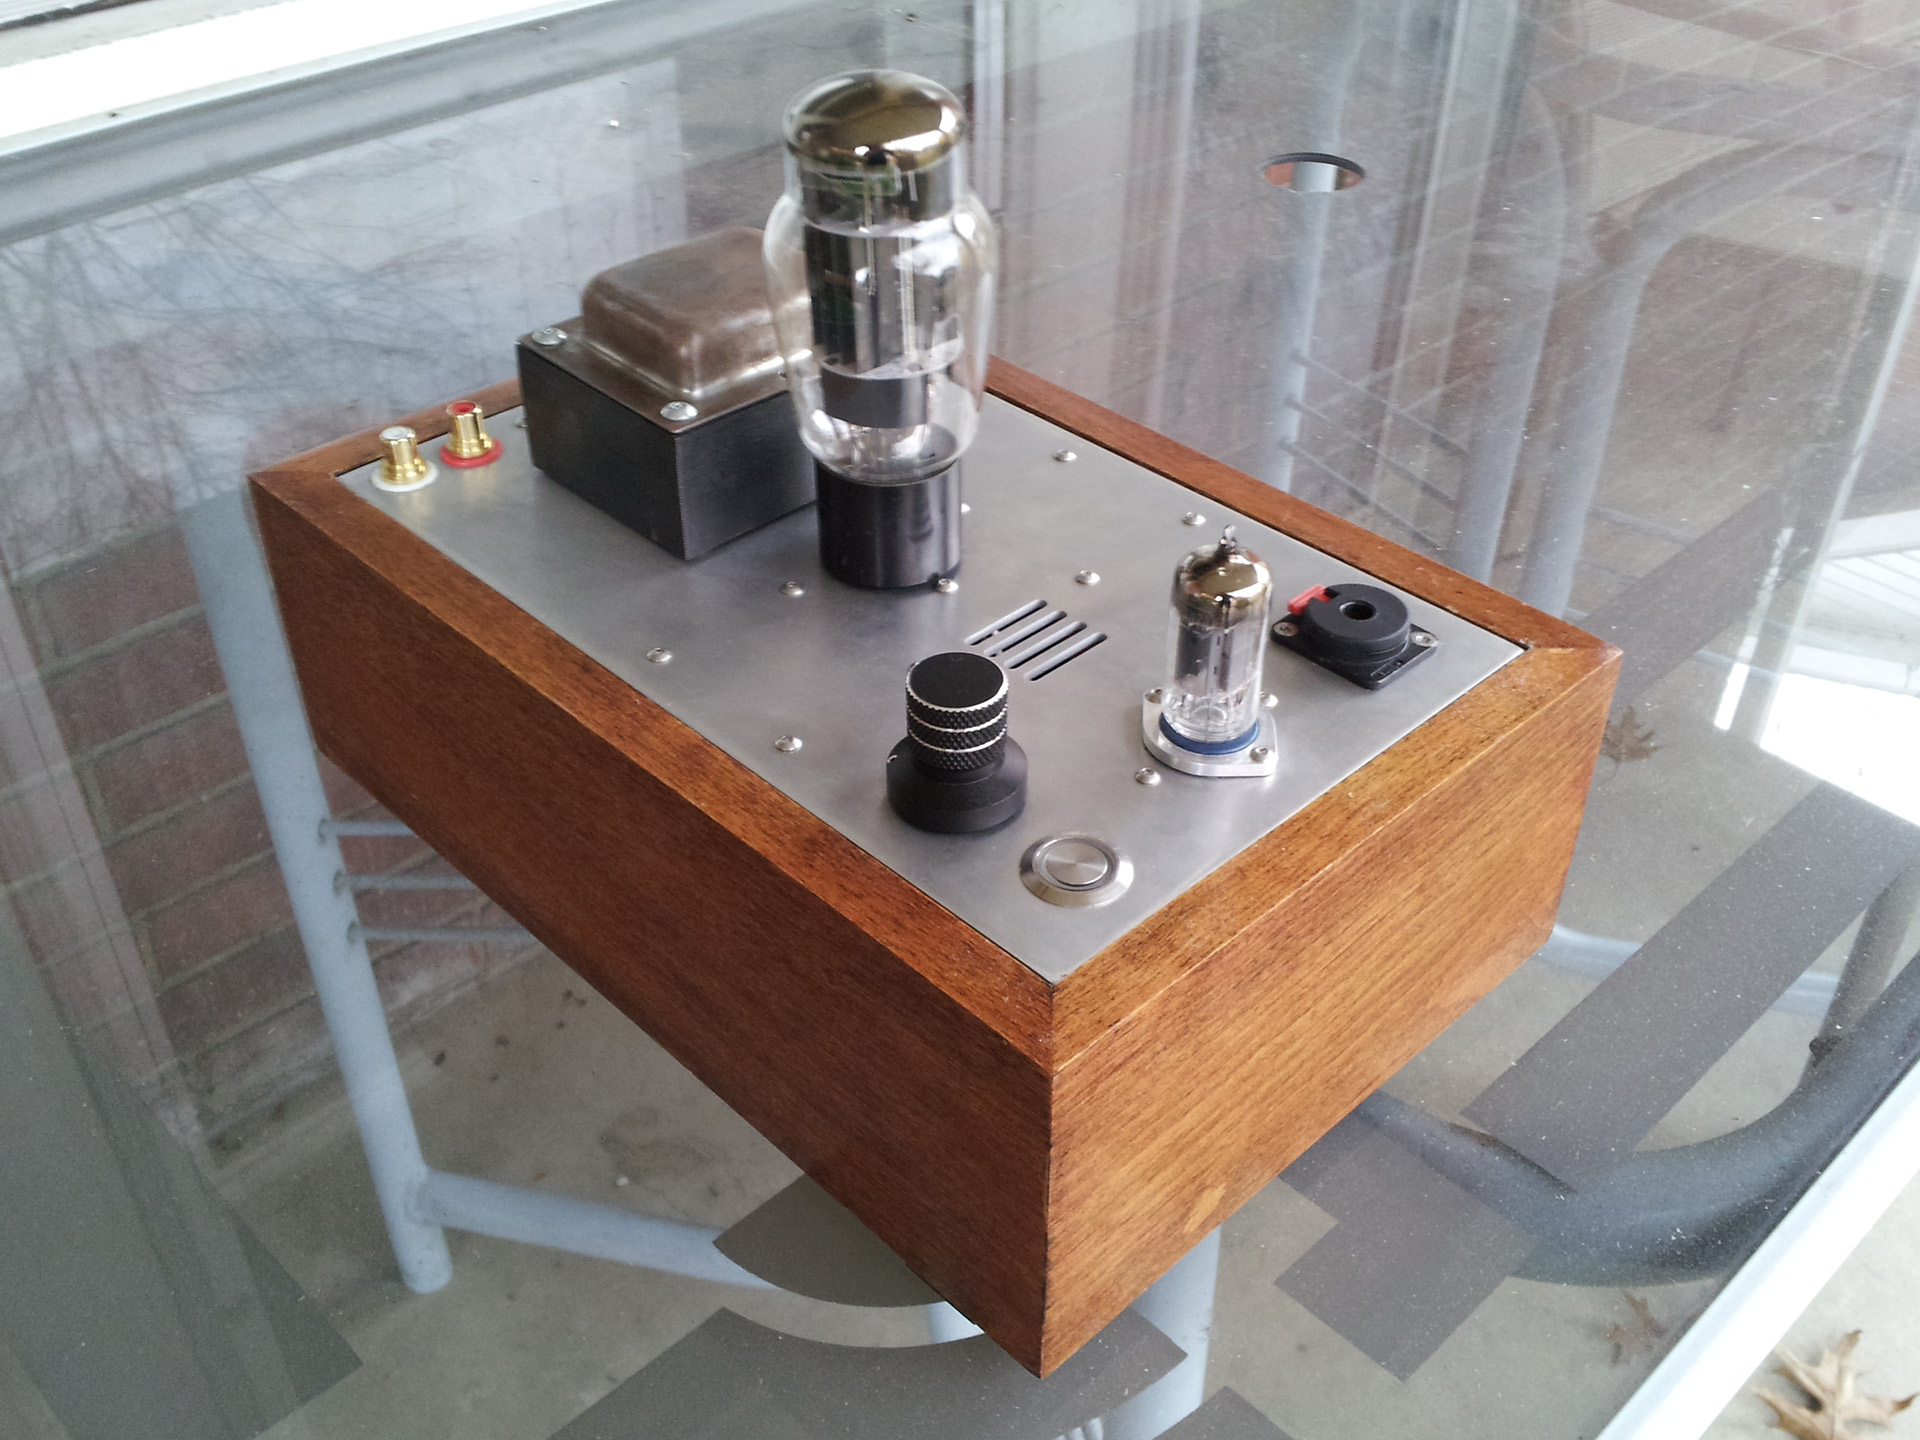

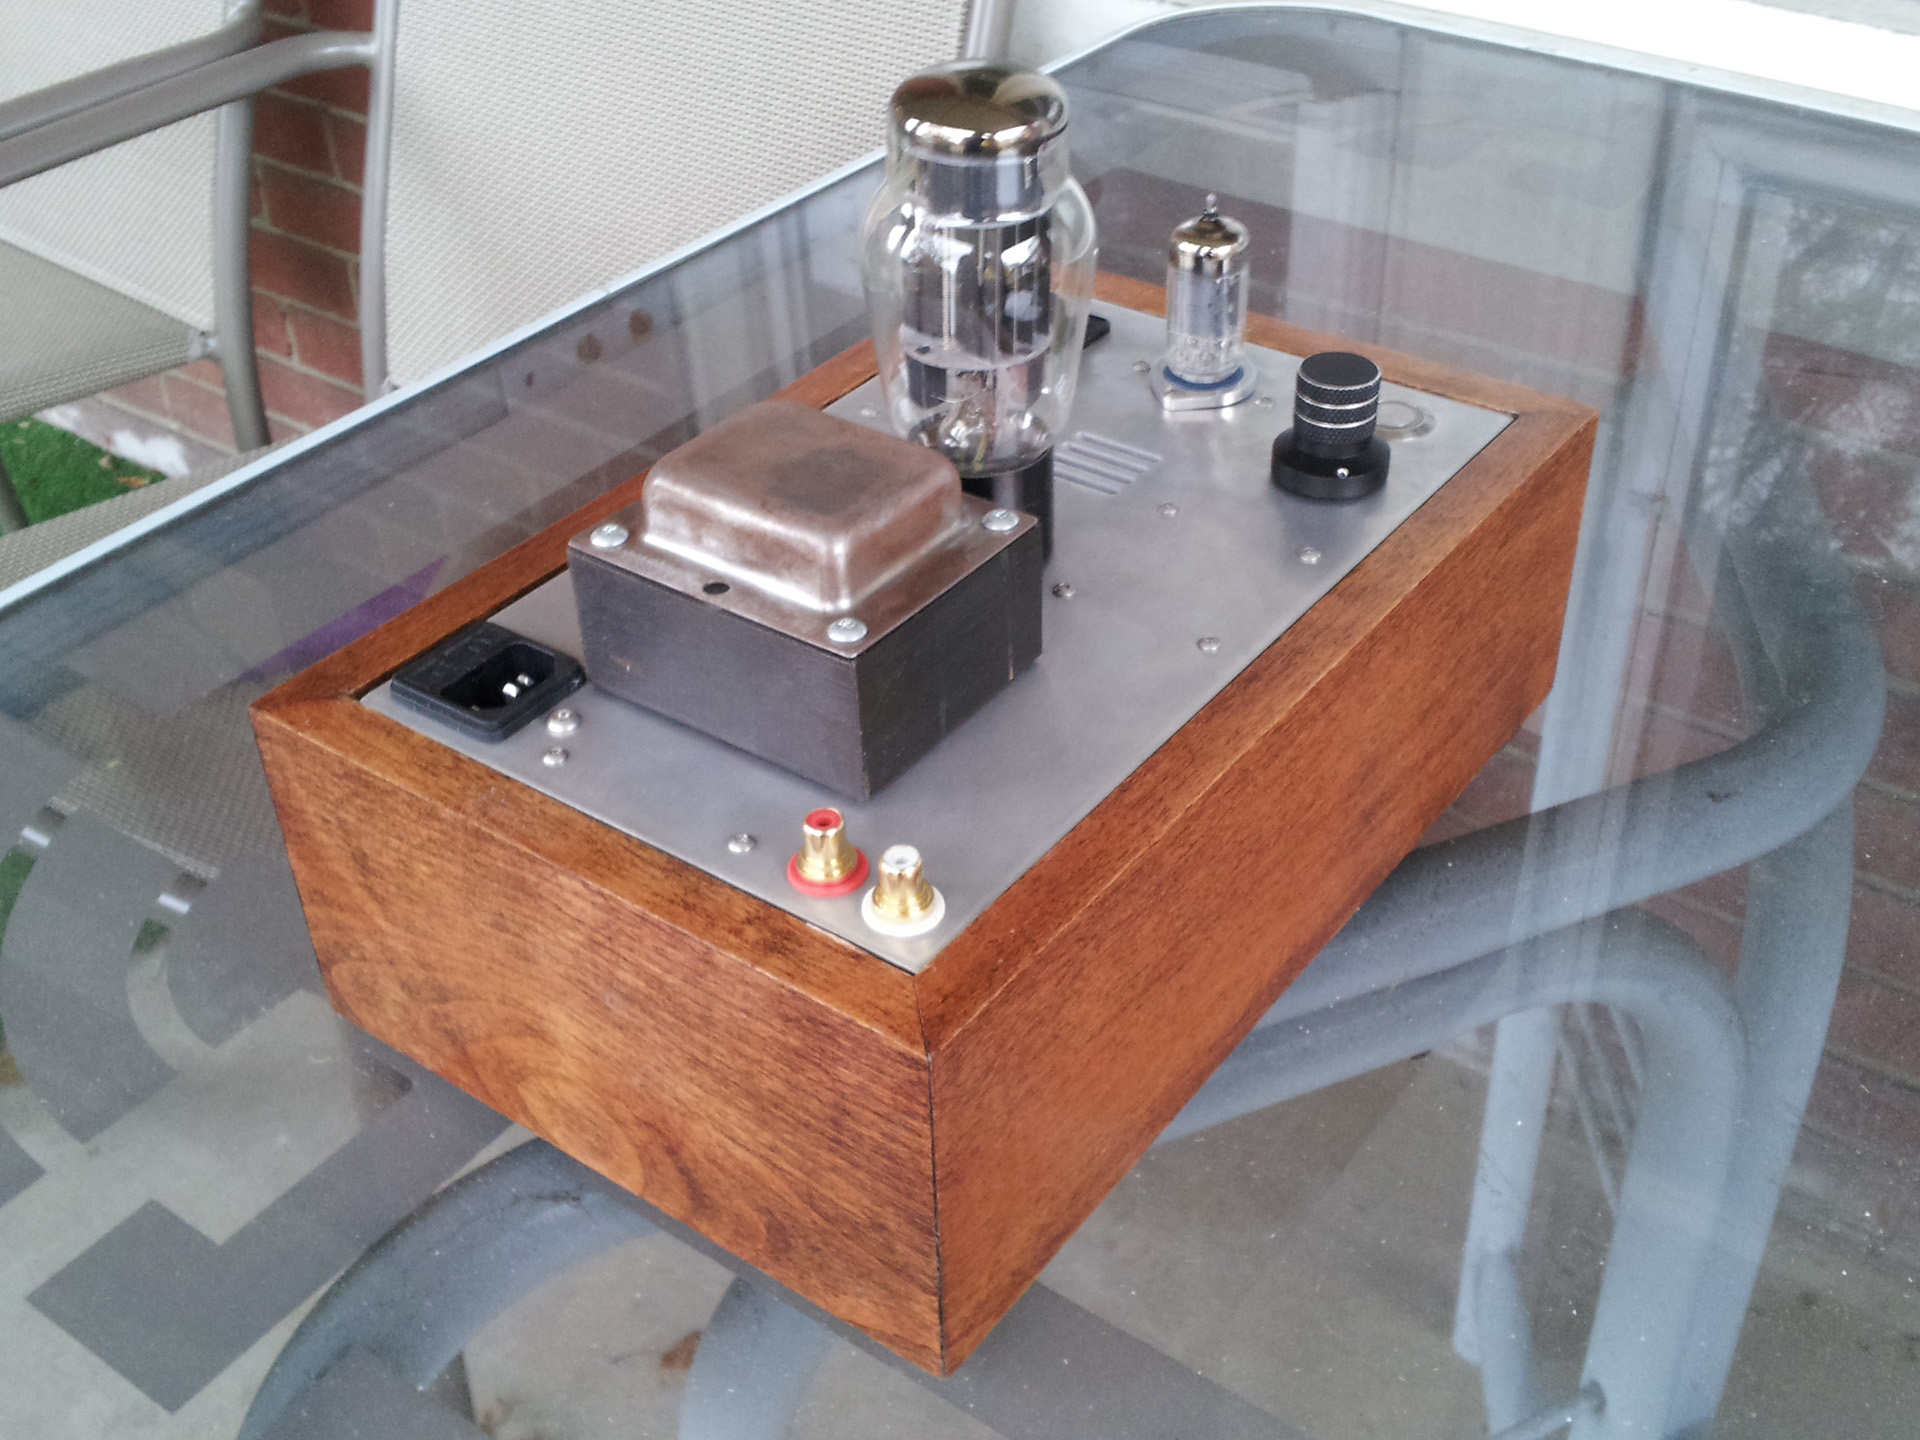

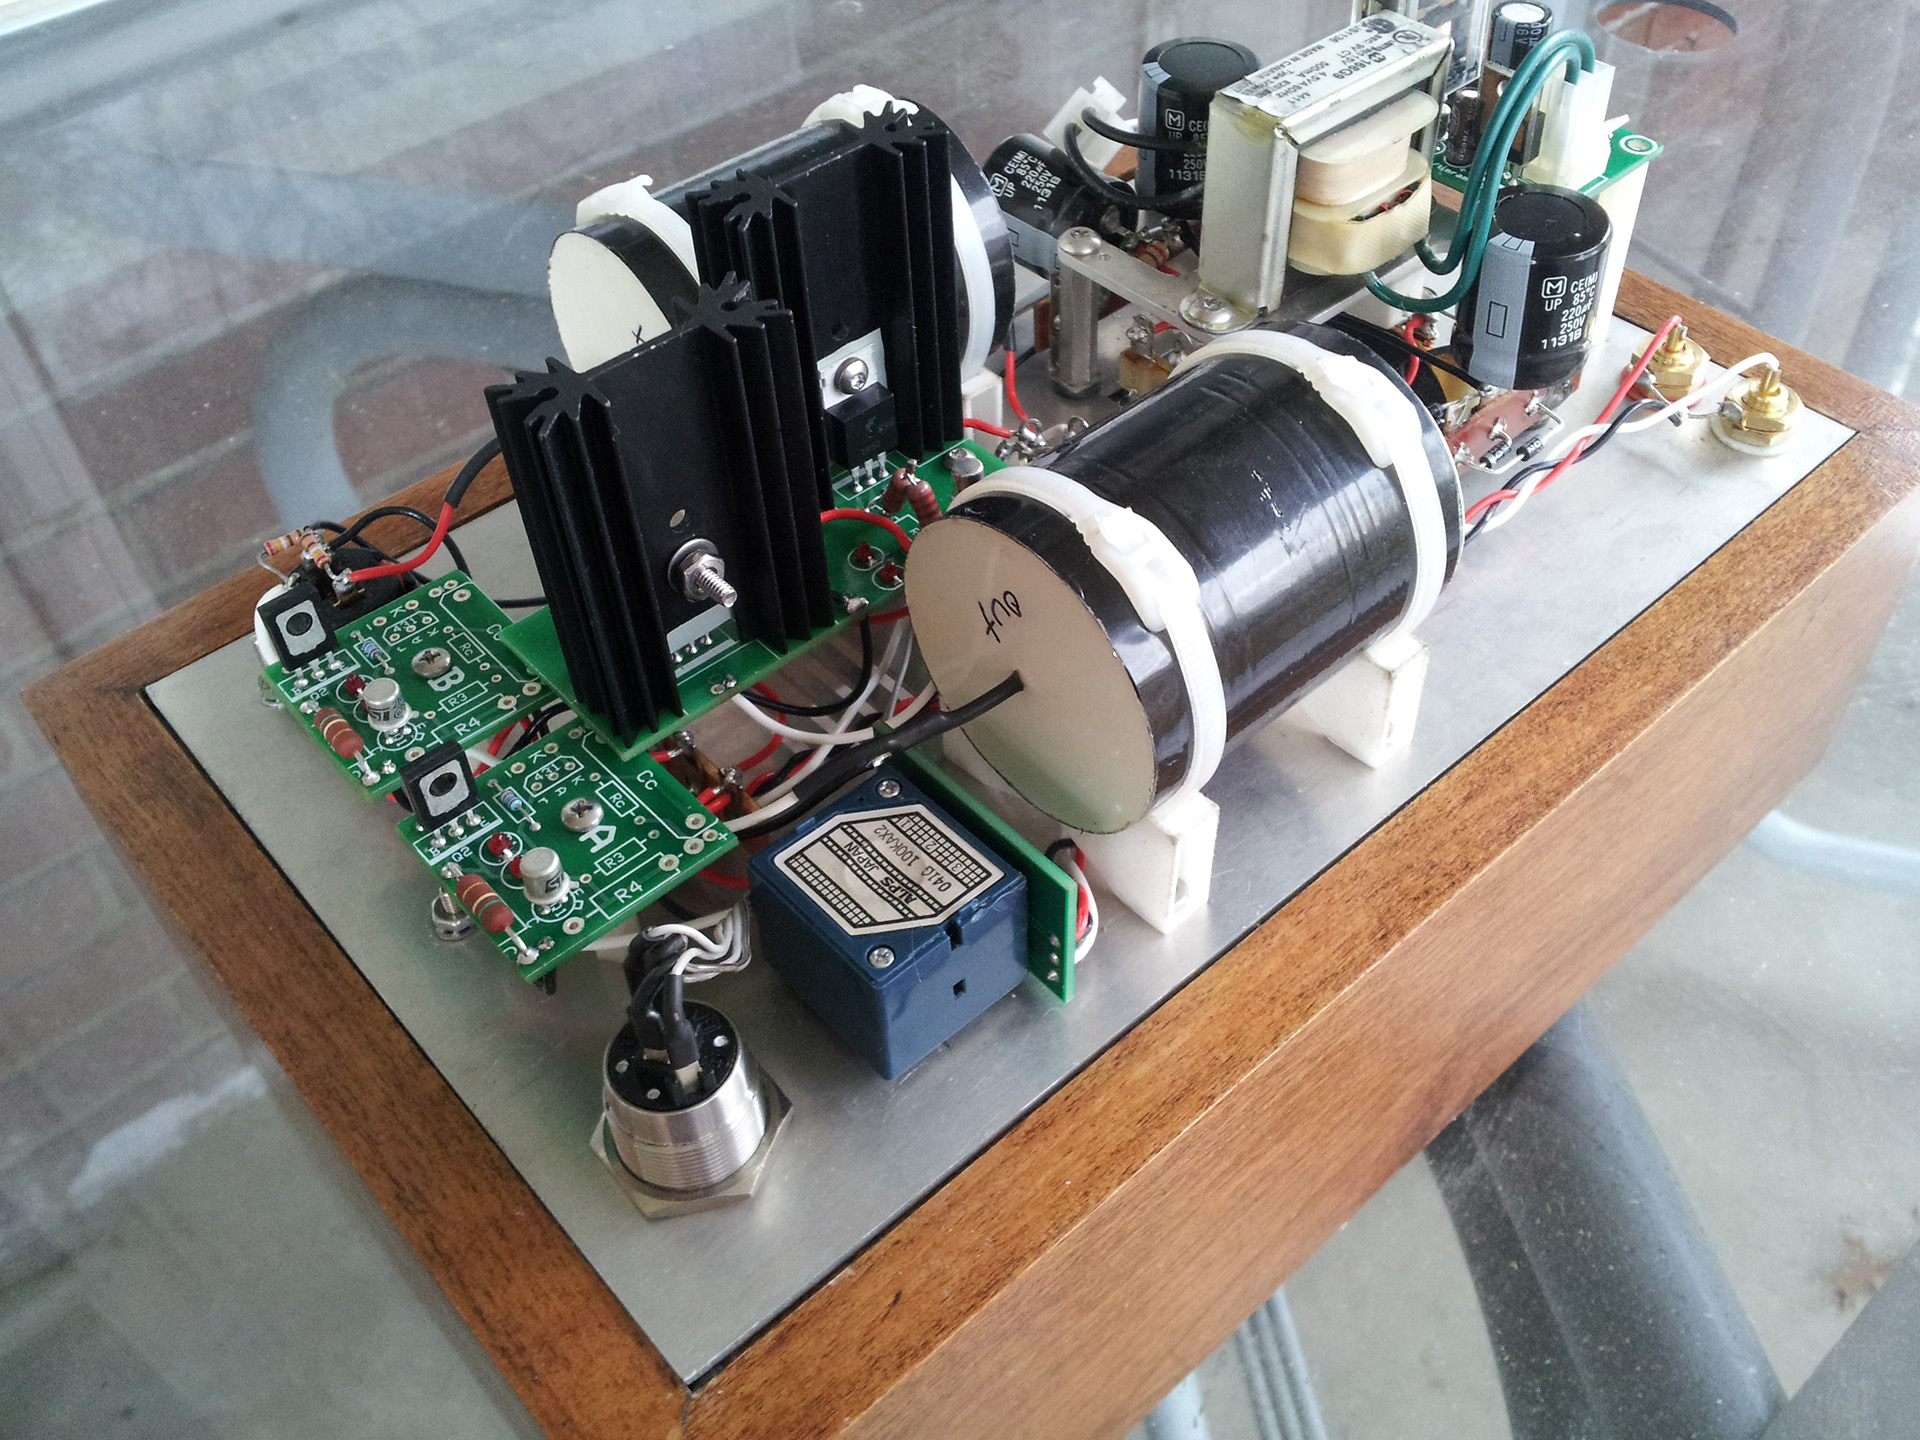

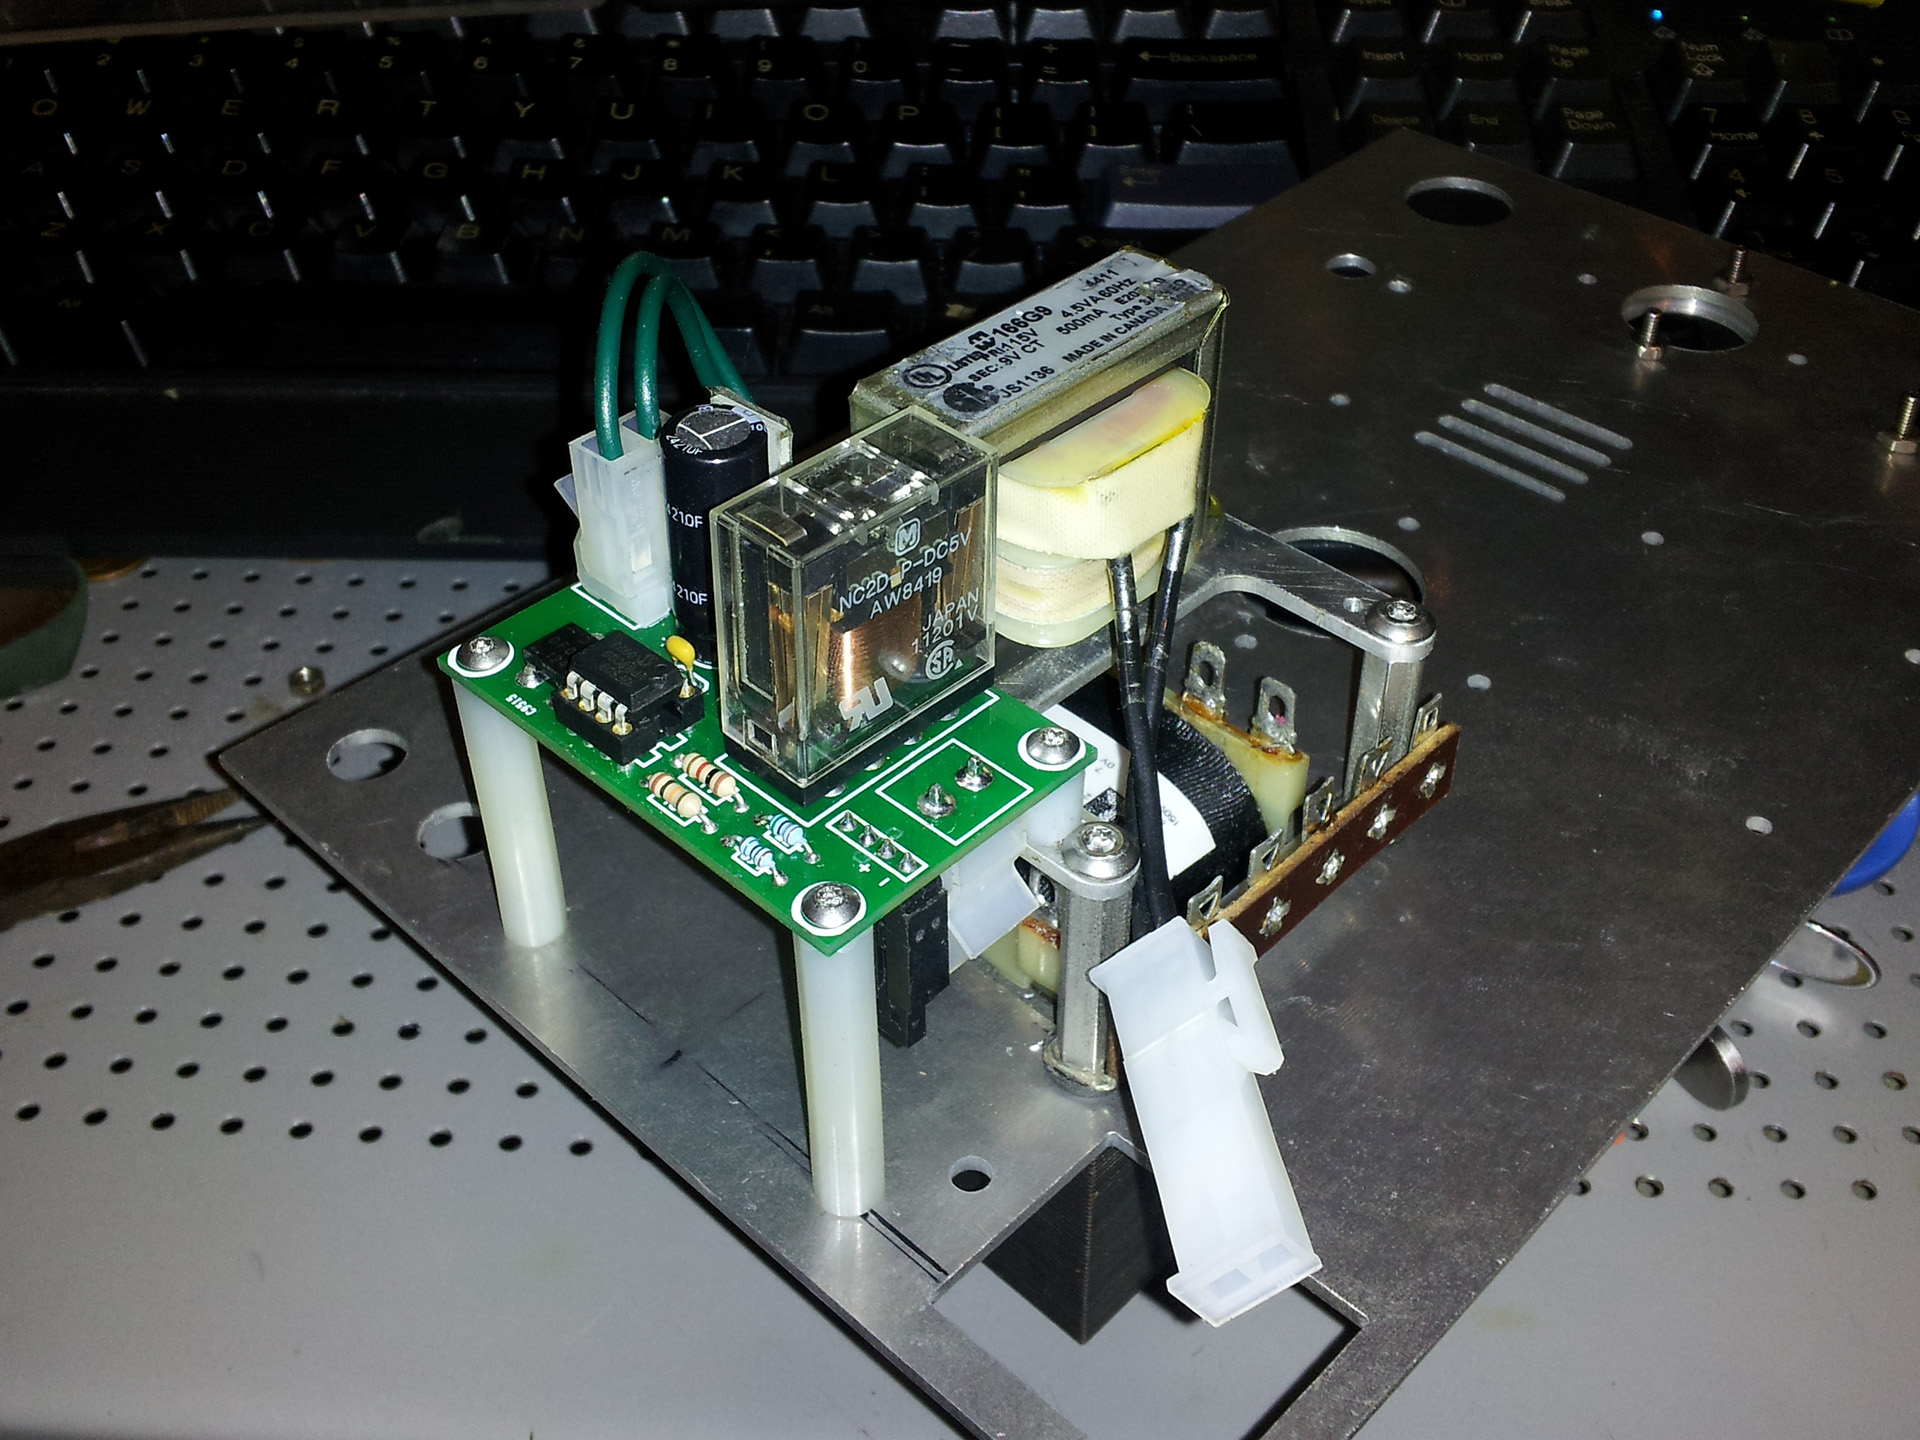
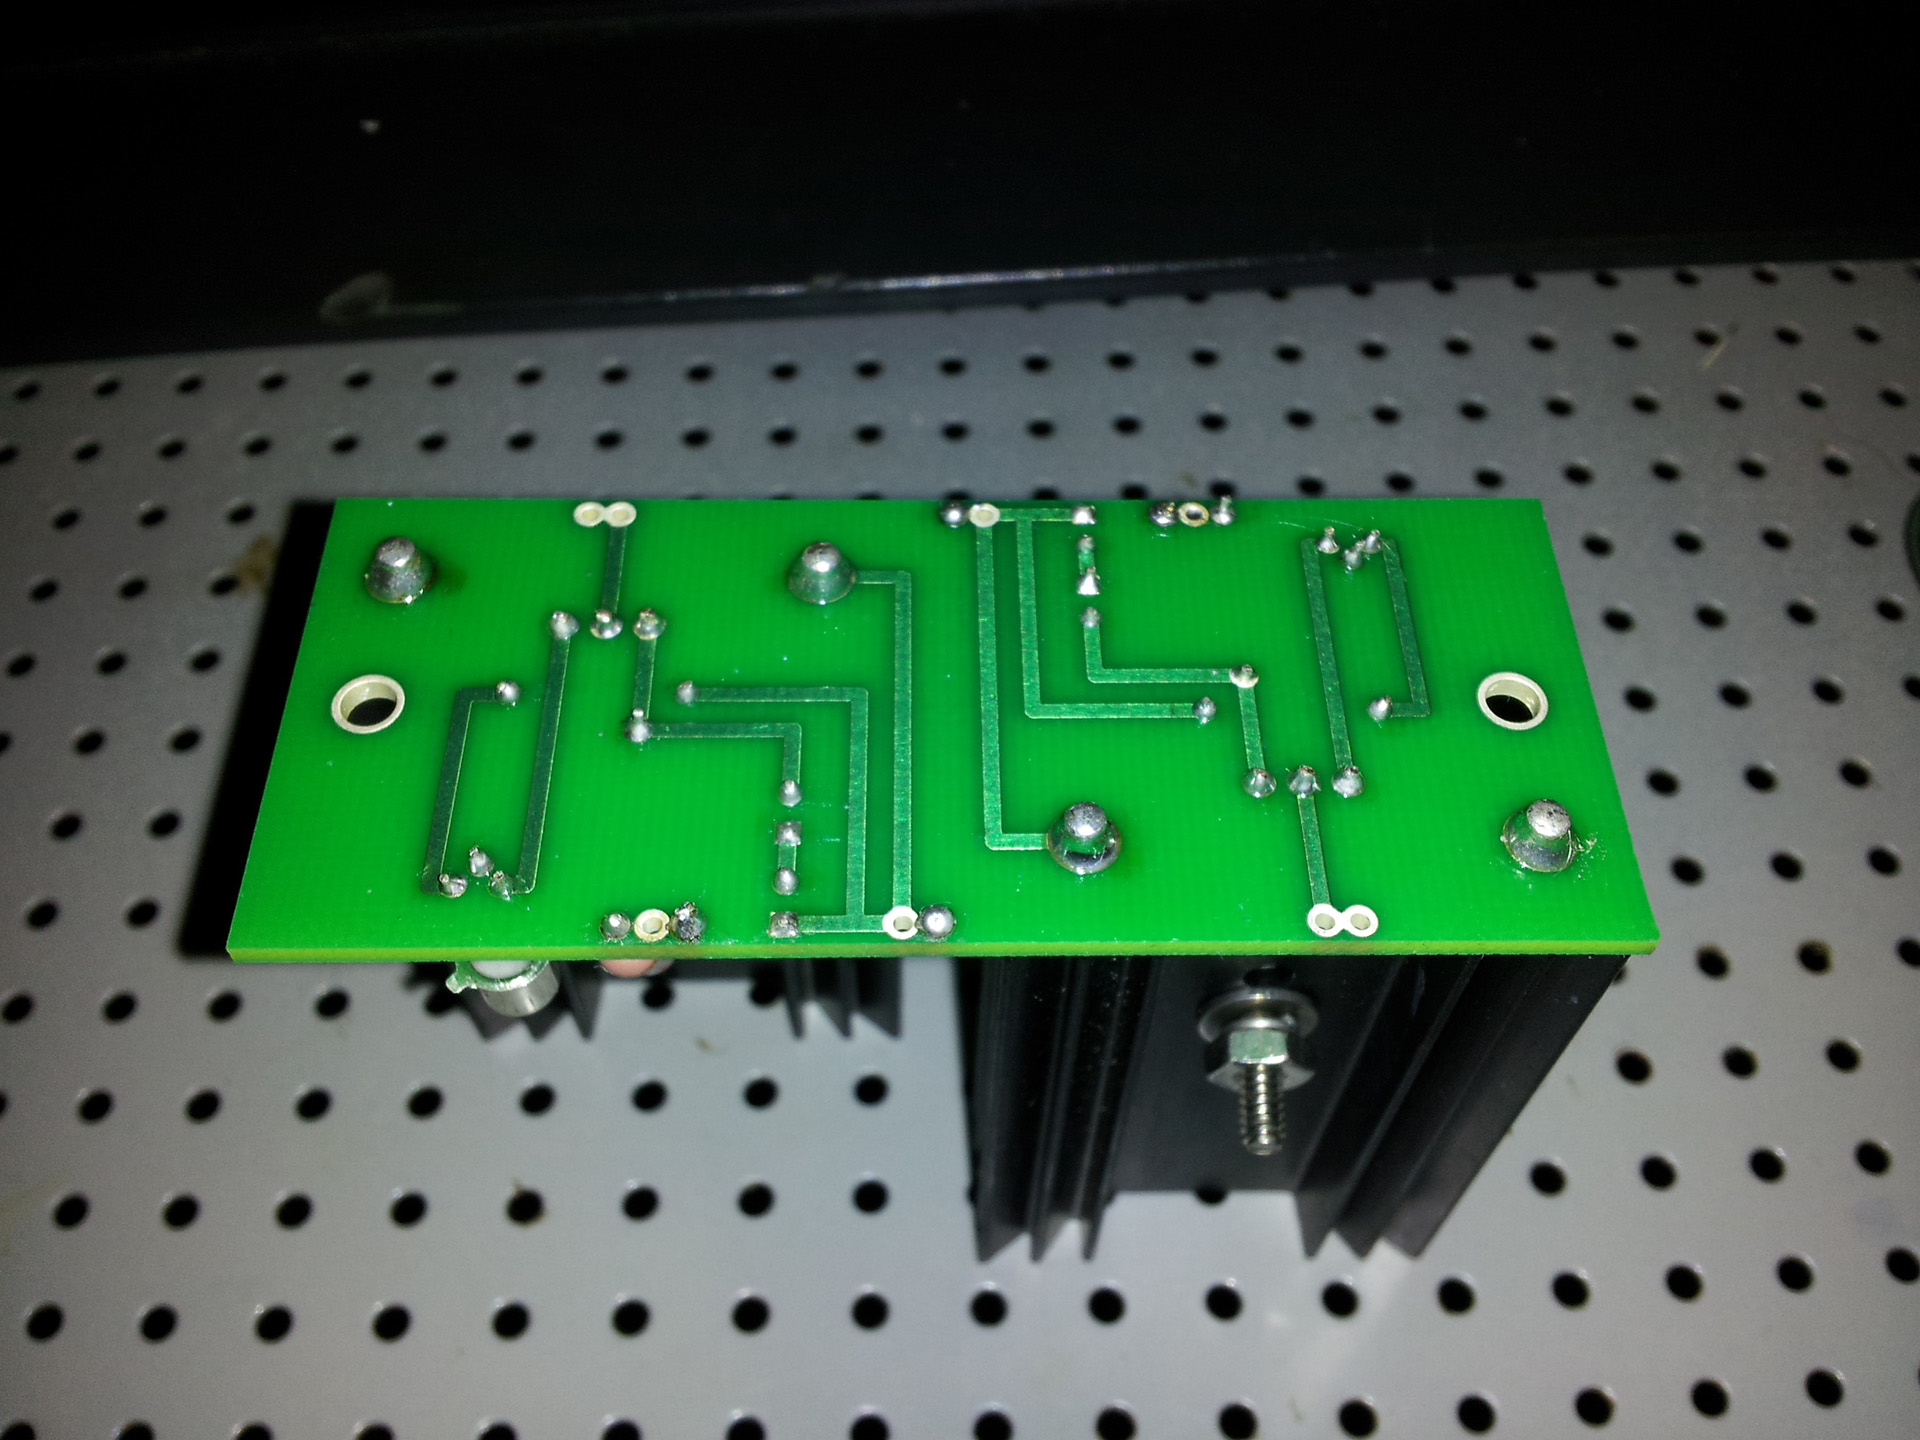
I got sick of trying to figure out a powder coater and trying to find a mill, so I just started assembling last night. I spent about 6 hours putting it together. I was so tired when I was finished I could barely keep my eyes open or even mentally focus to find a power cord. The only thing I didn't finish was wiring in the power button. When I fired it up the tubes glowed, but no LEDs lit up. I looked at the schematic and figured that there was no high voltage being supplied to the tubes, so I tested the supply. Nothing. I traced my wiring and noticed that I forgot to solder the wirewound resistor lead to 13L. I soldered it up, fired it back up, and everything lit up like it should. I plugged in my headphones and there was a pretty loud hiss going on, but after a minute it quieted down completely. It sounds slightly better than before due to the Speedball. It's been months since I've heard it, so it's impossible to be certain what difference it made. I only got to snap one picture of a bunch of stuff mounted to the top plate. I ran out of #4-40 torx screws, so I am going to wait until I receive the rest of them to take the final pictures. I regret going with this silver-plated stranded wire. Even tinned, it was a pain in the ass to wrap around terminals.
I went ahead and made an order to McMaster-Carr yesterday and I got my hardware today. Part of the order was to replace the standoffs that came with the Speedball to hex-shaped jawns. The ones from the Speedball I drilled out and turned into the short spacers you see between the PCB and transformer bracket. Now all that awaits is trying to find a powder coater with the color I want and someone who will let me use a mill with my bit for a few minutes.

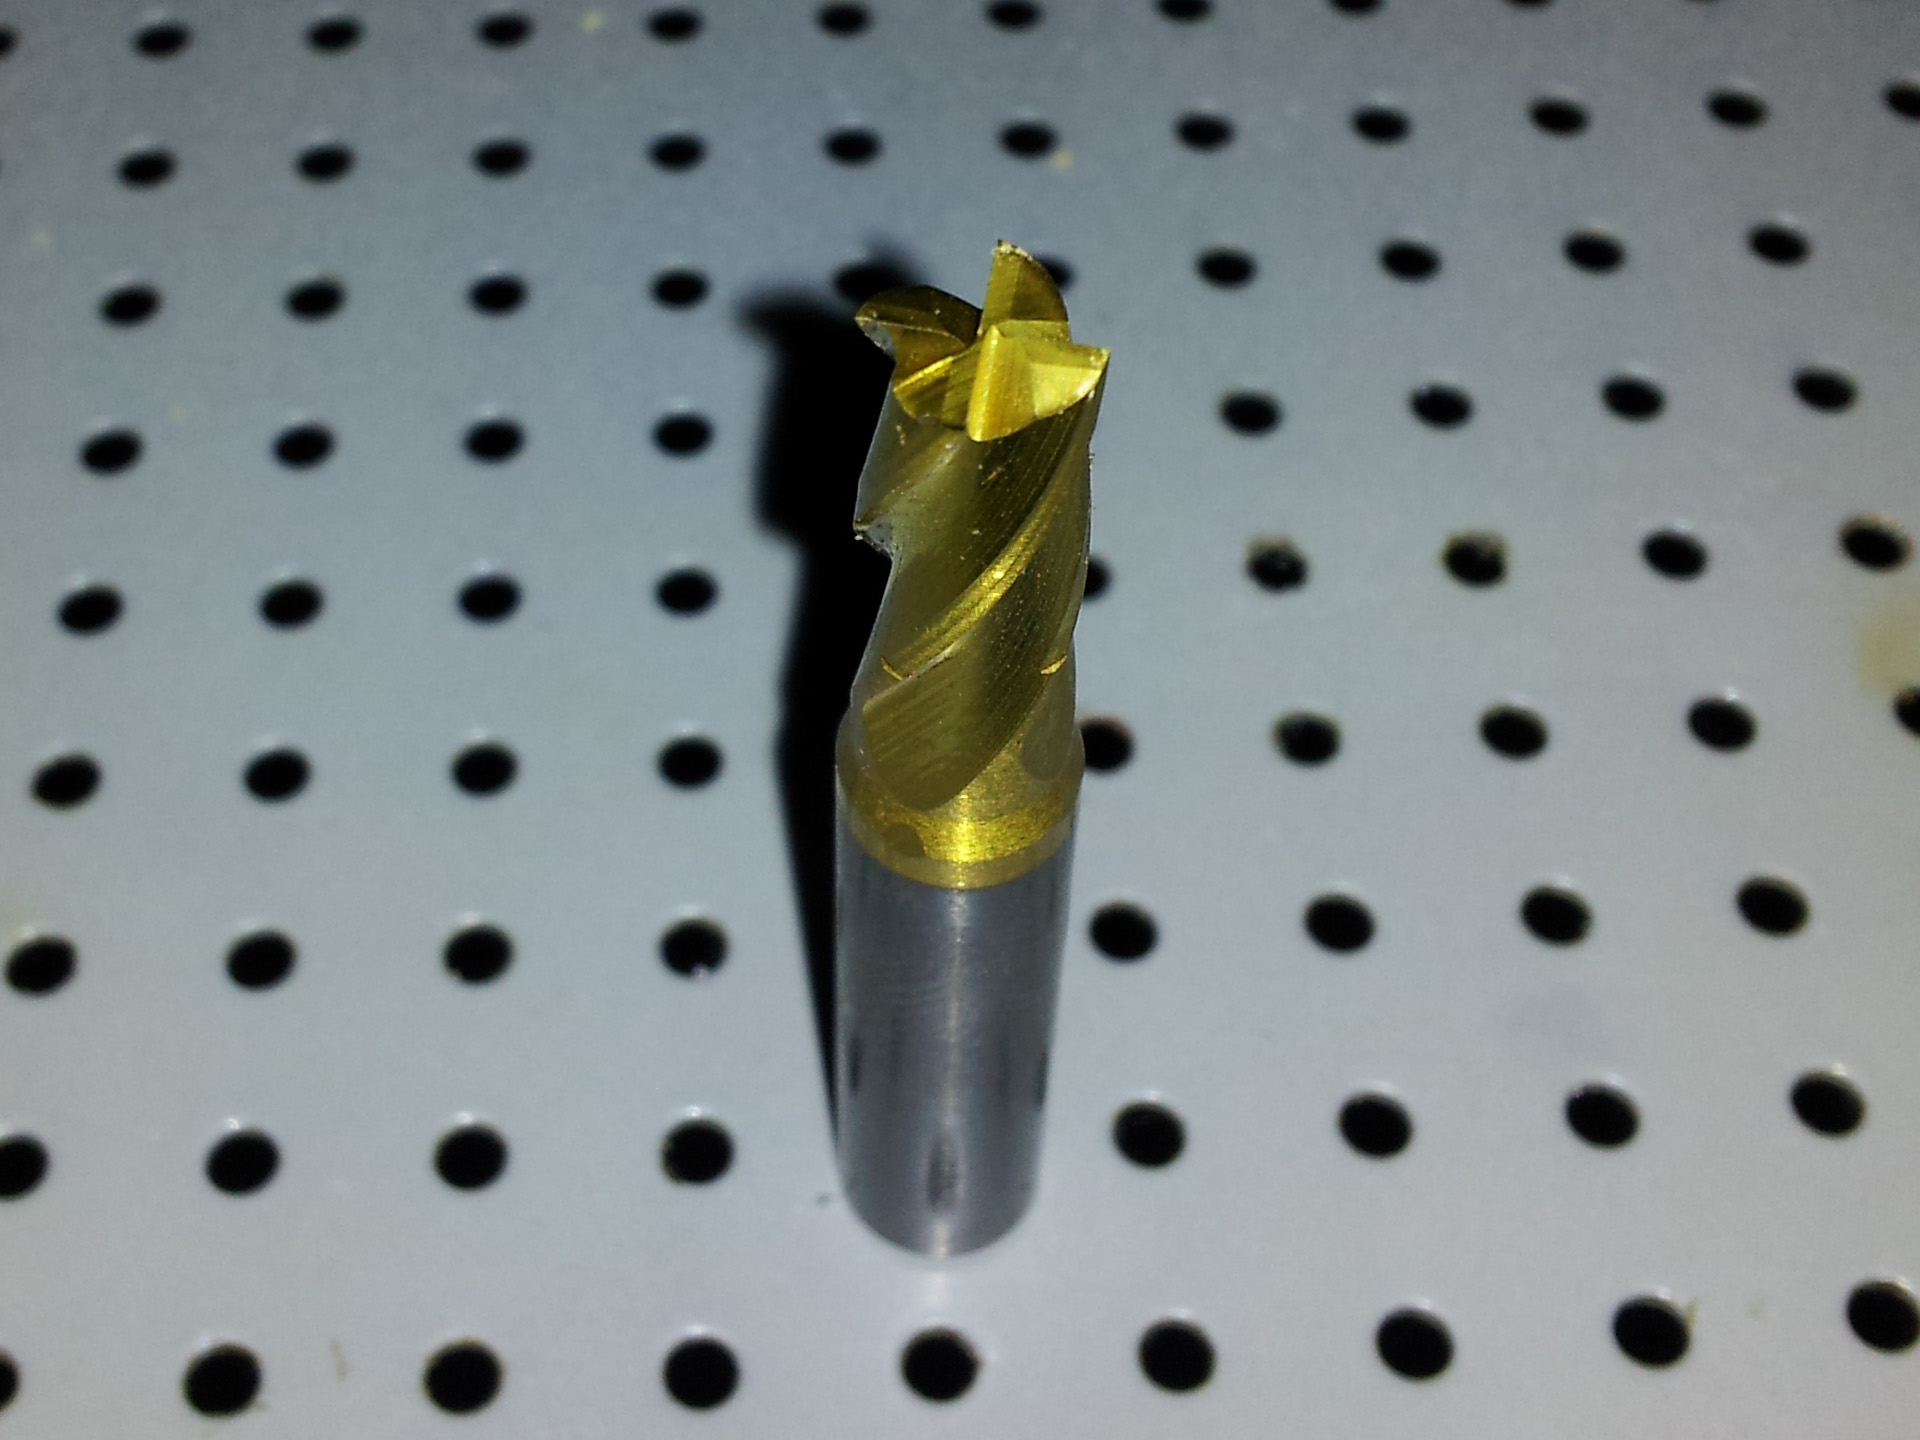
7mm end mill for the Neutrik indent. 7mm is the exact radius of the corners.
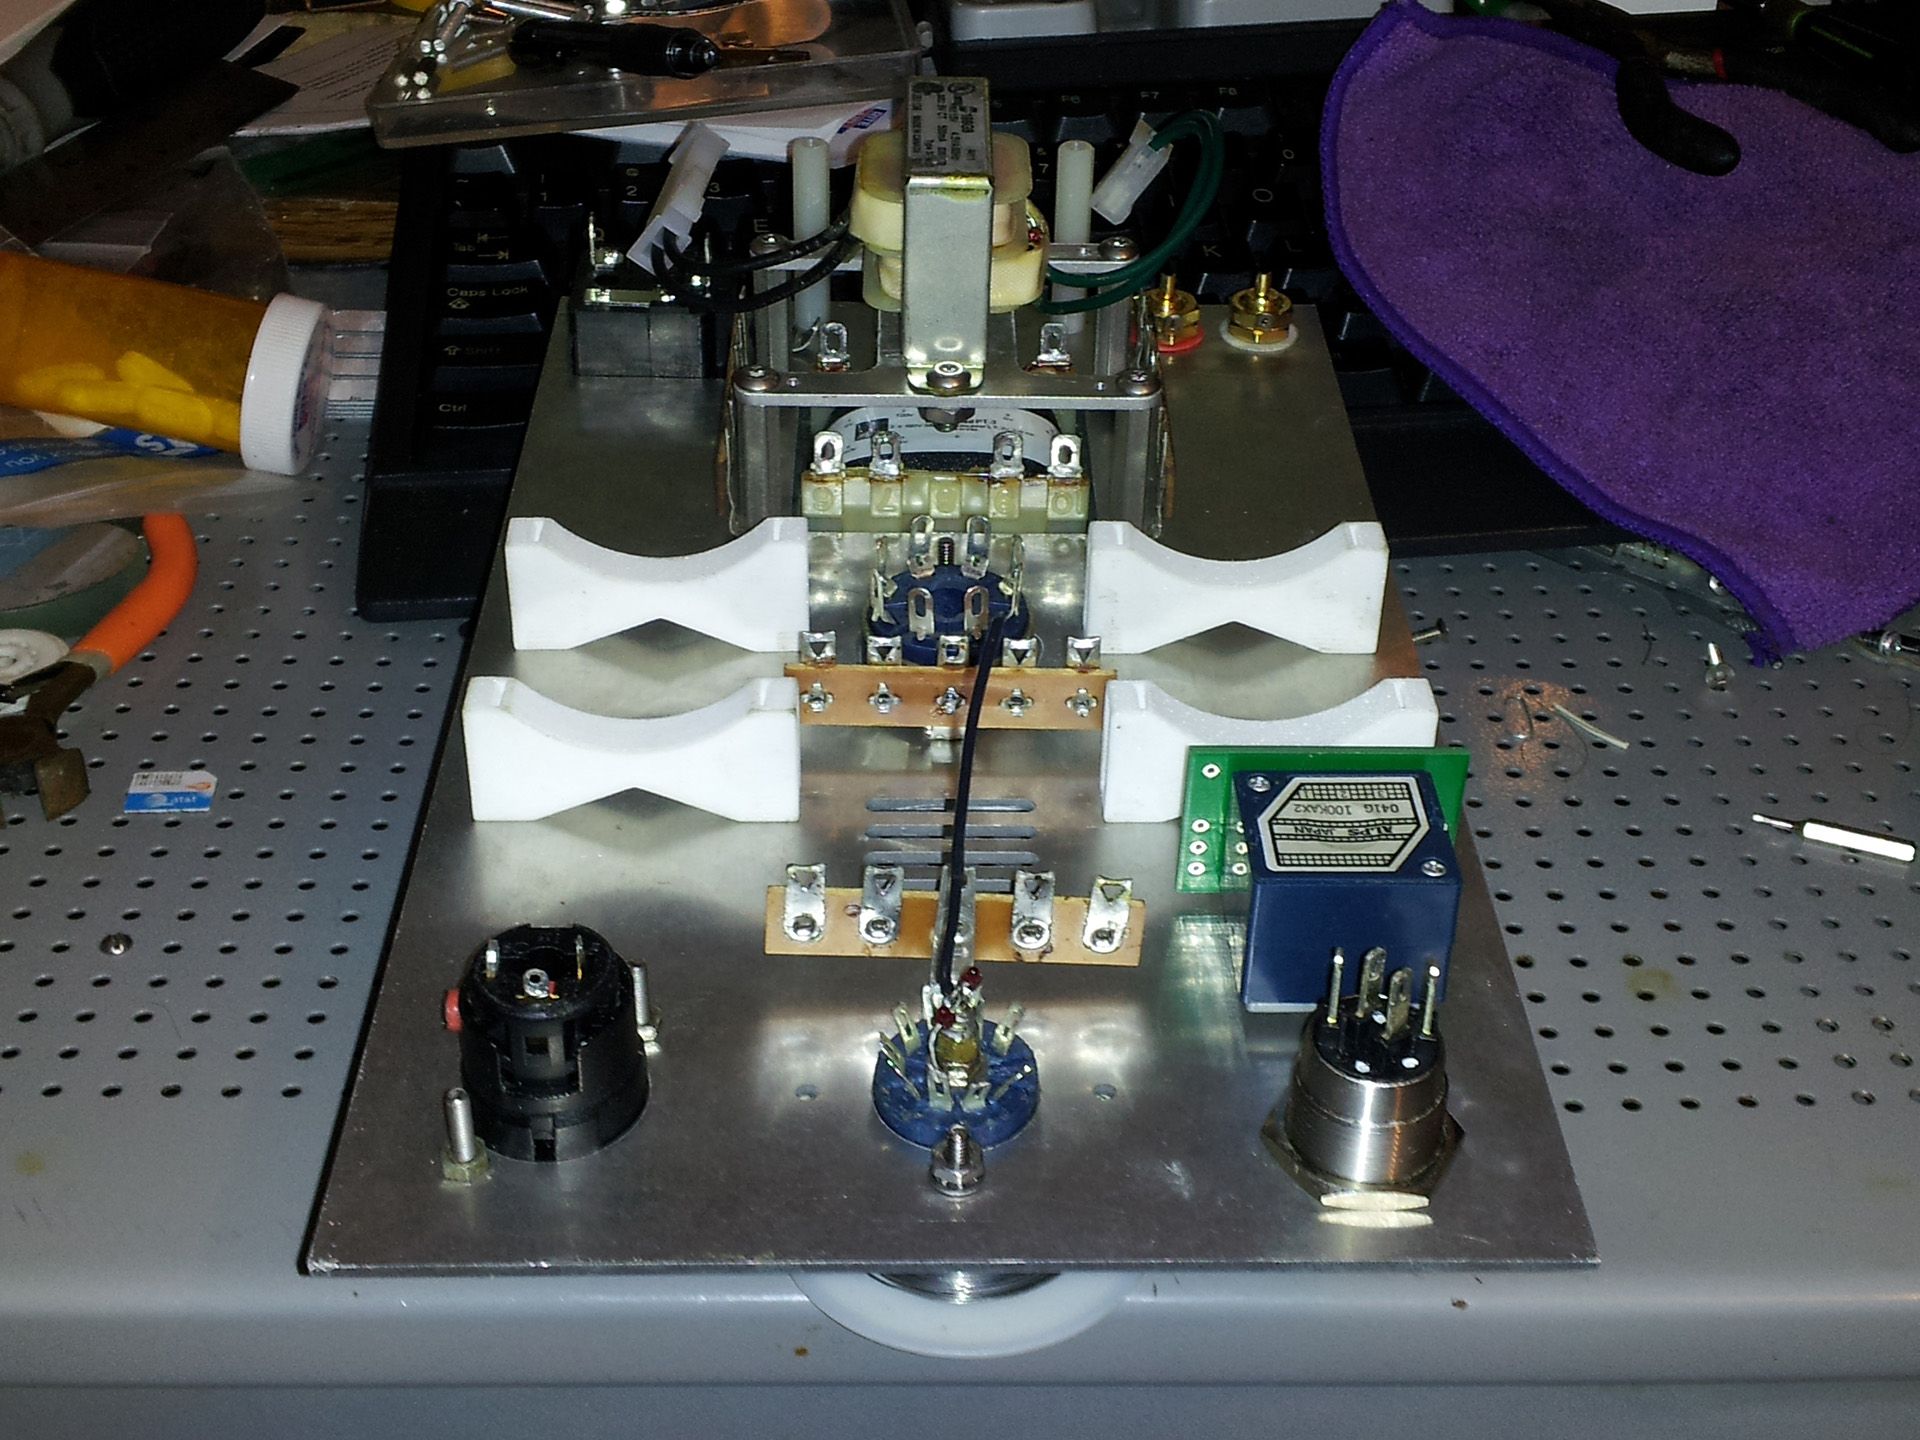
I got the tube socket bracket from the machinist and polished it a little. It was machined by Accurate CNC Services in Idaho.
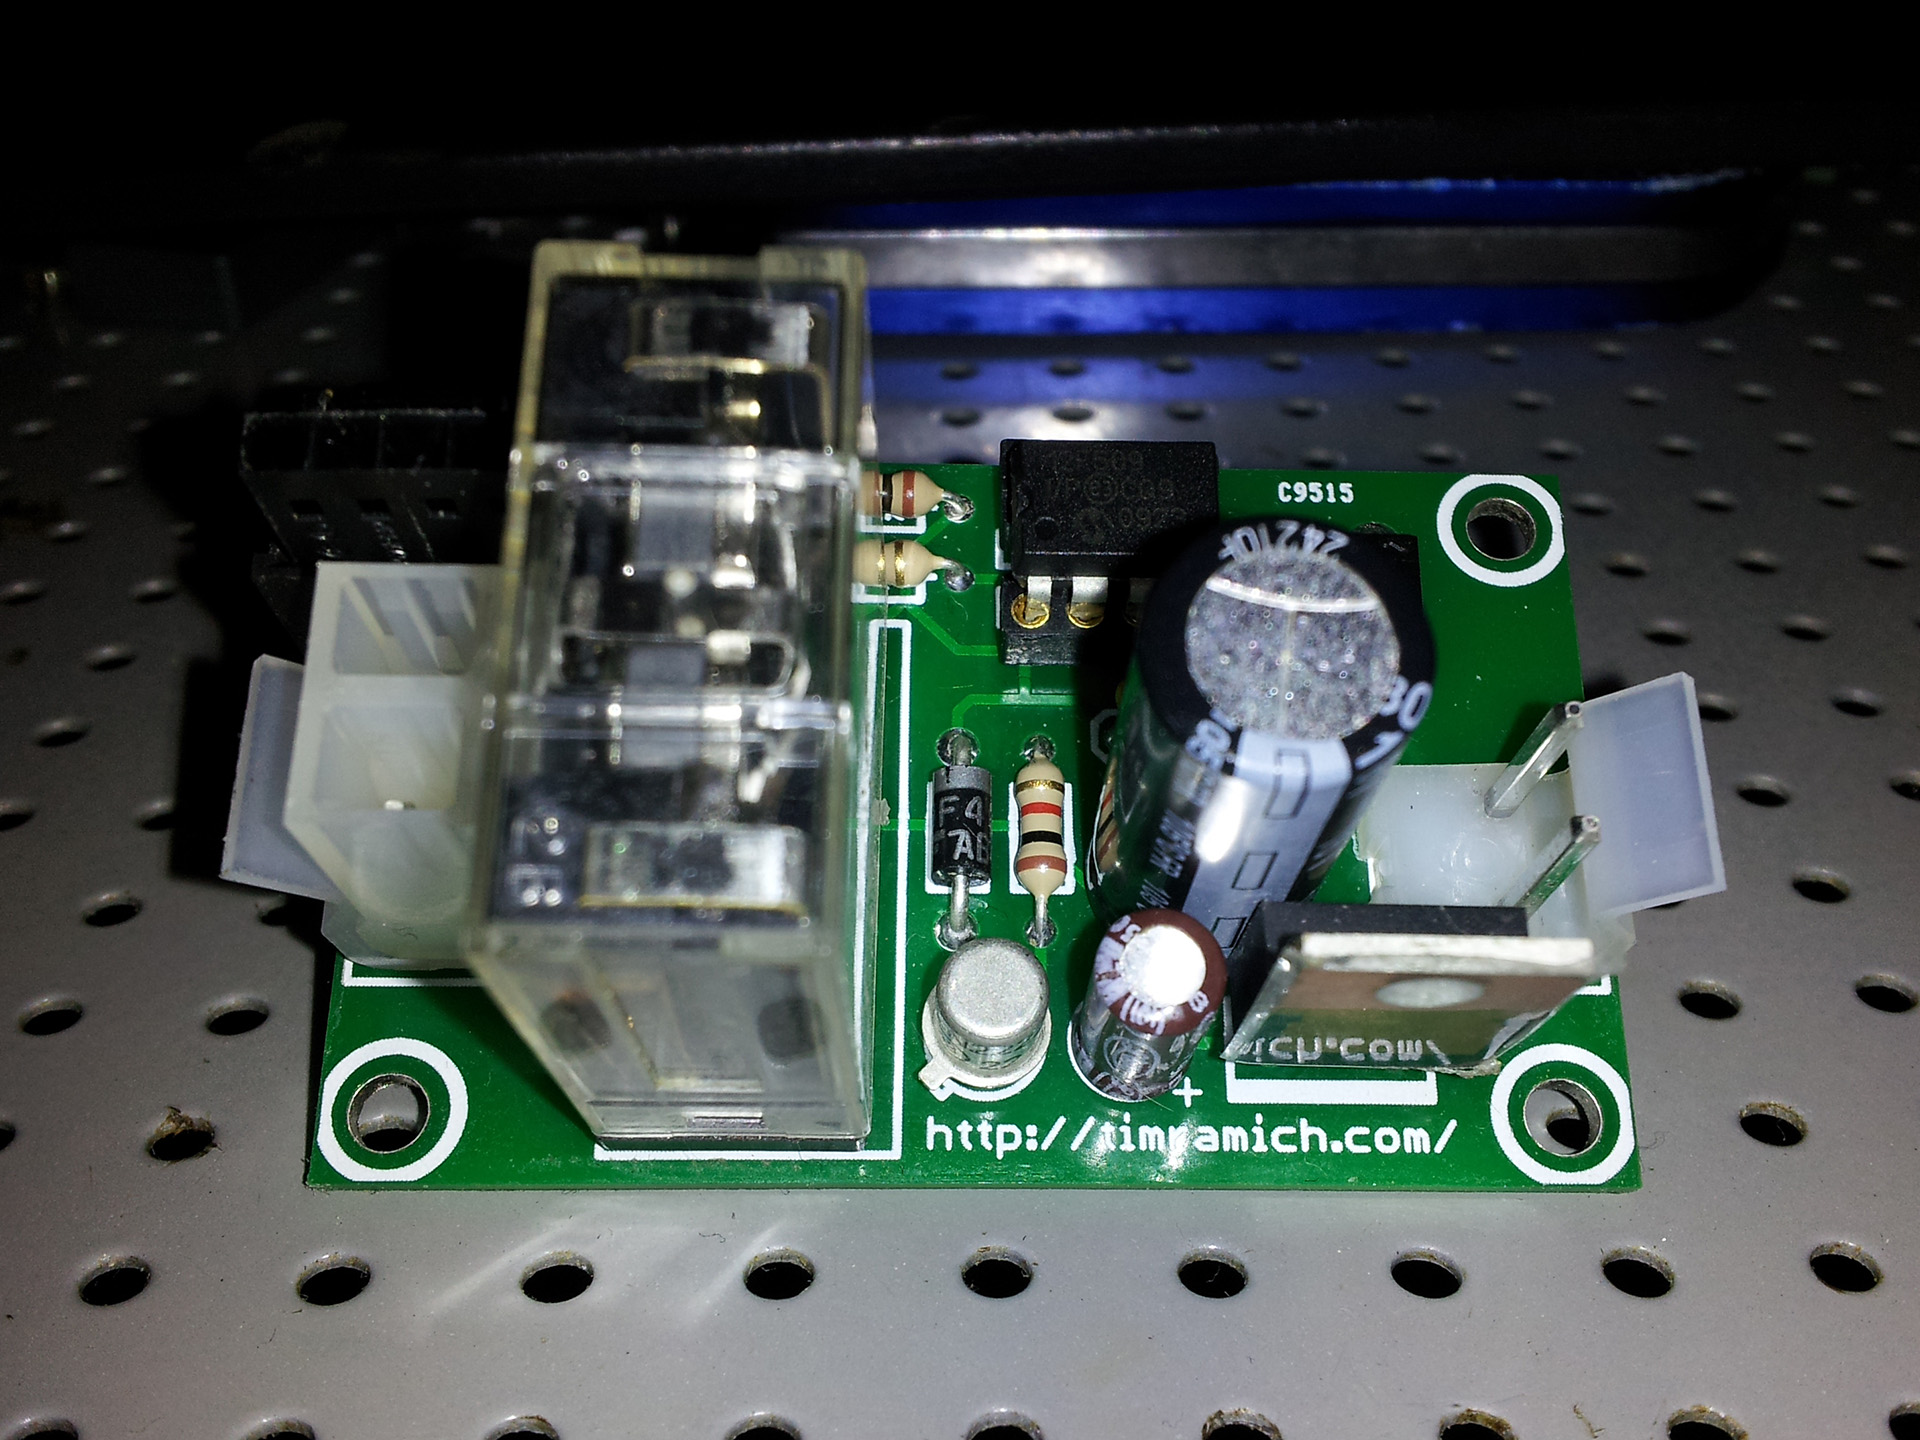
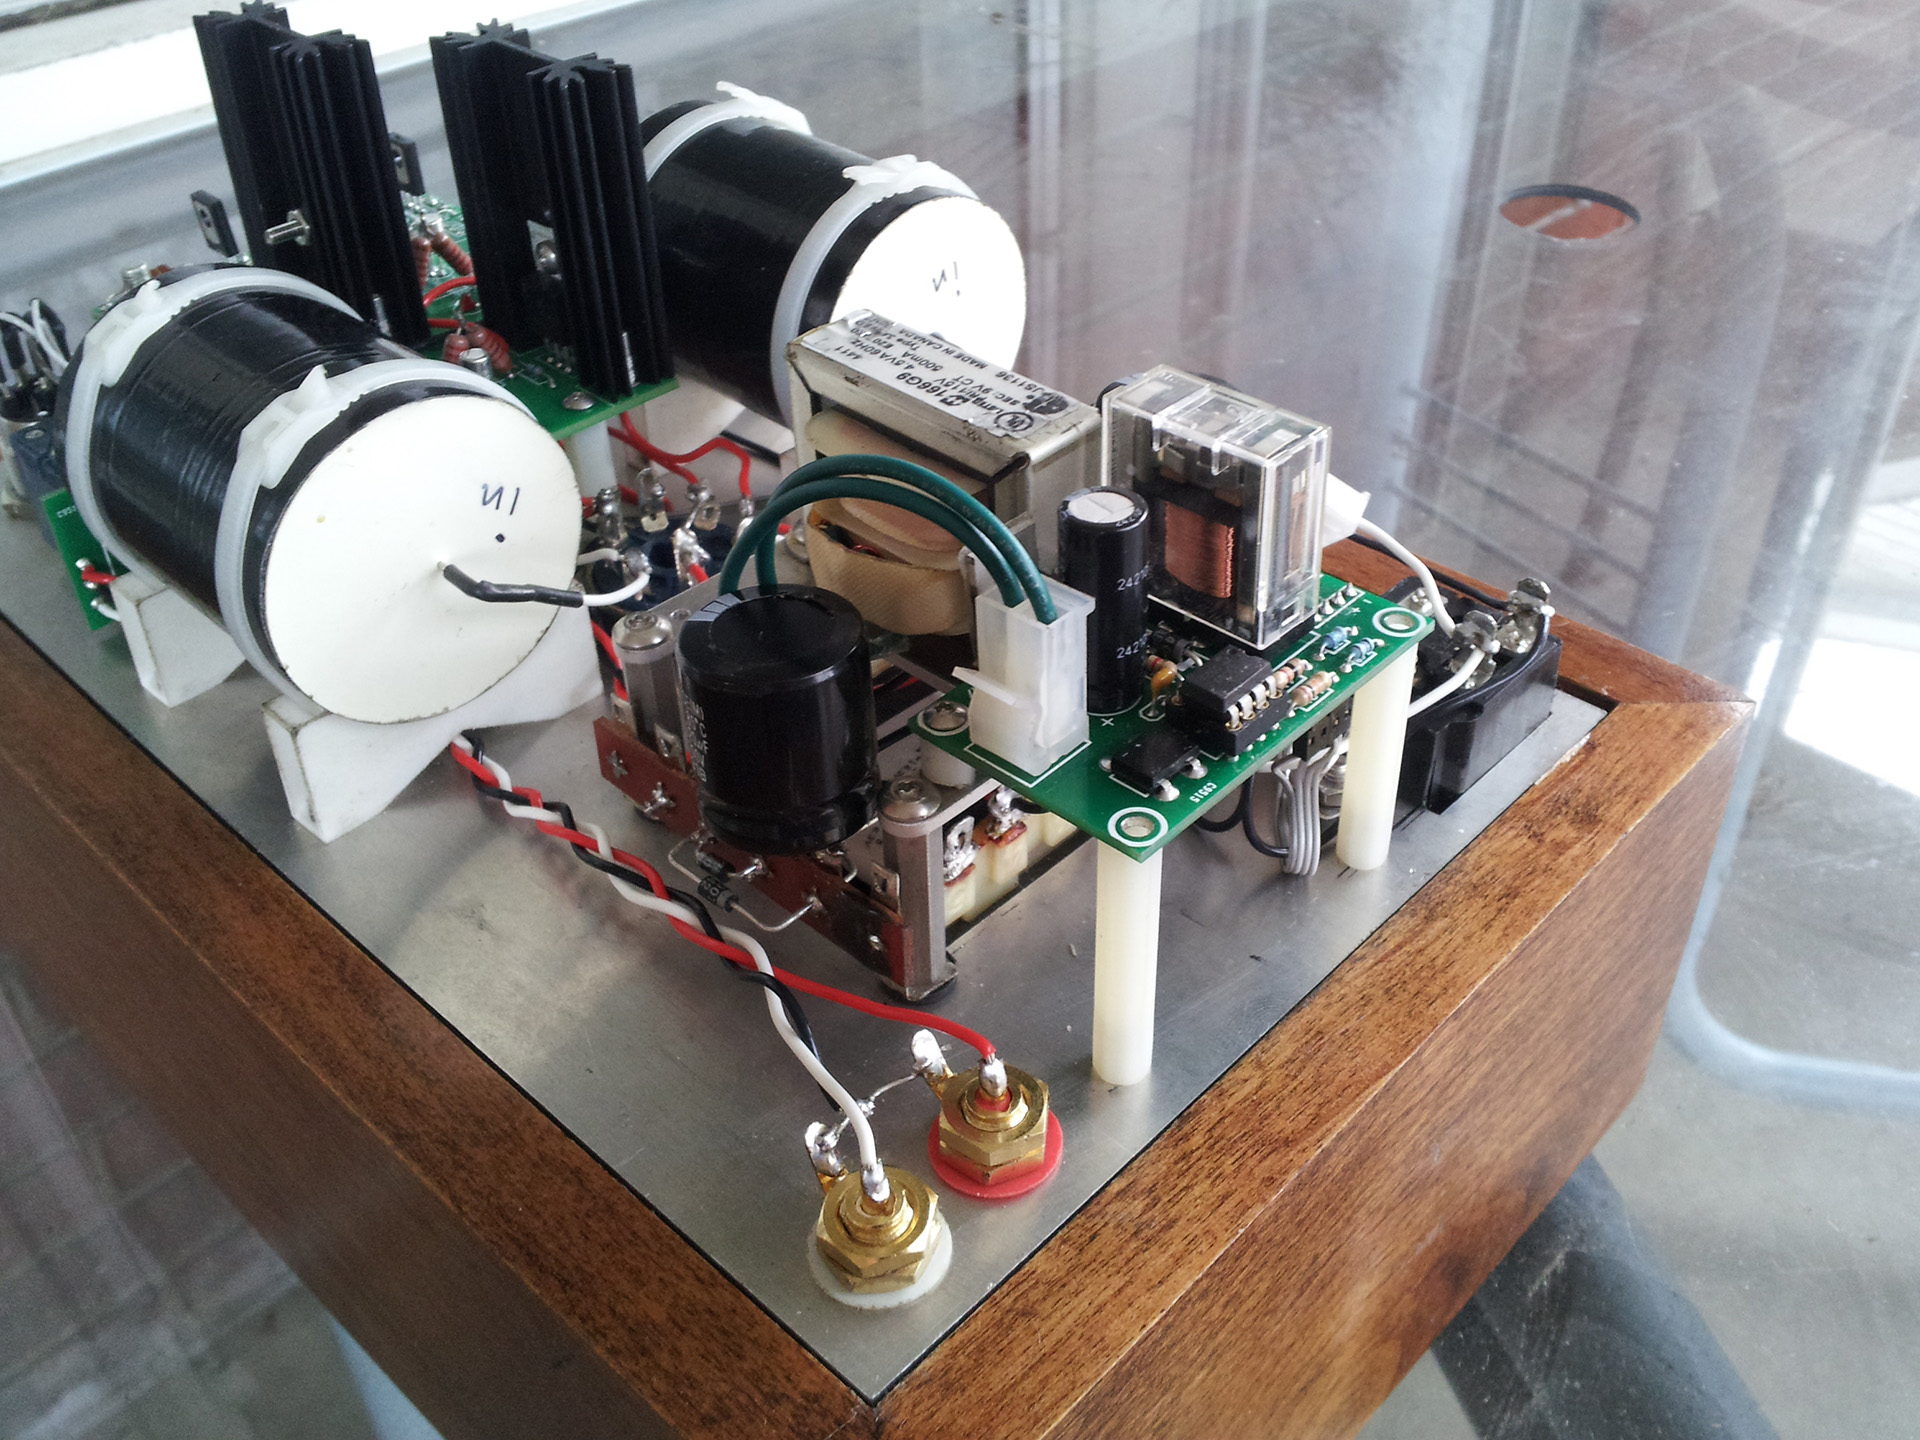
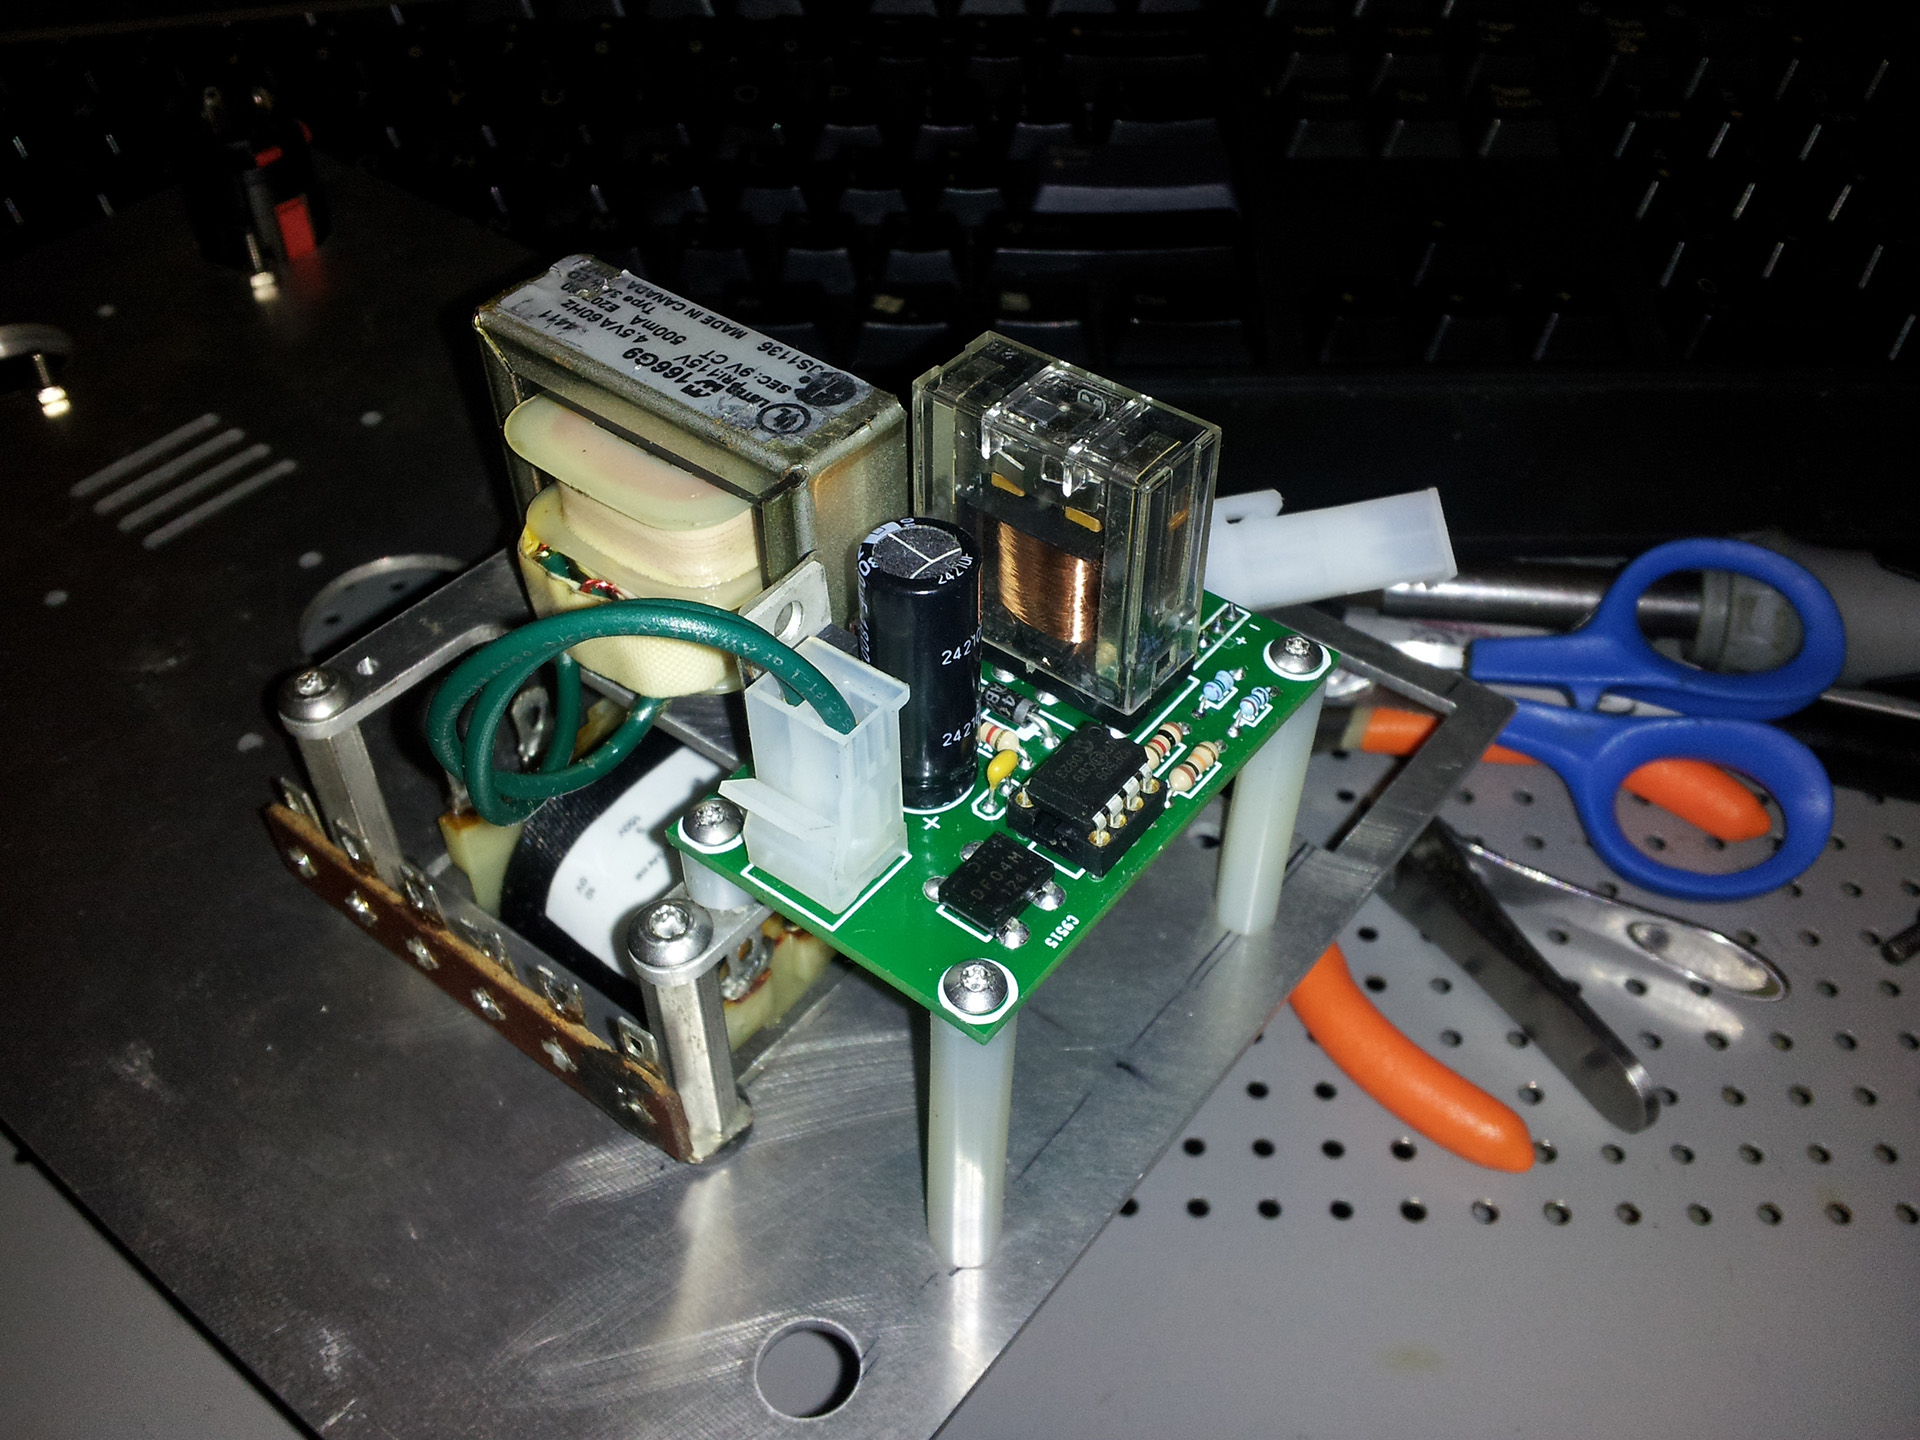
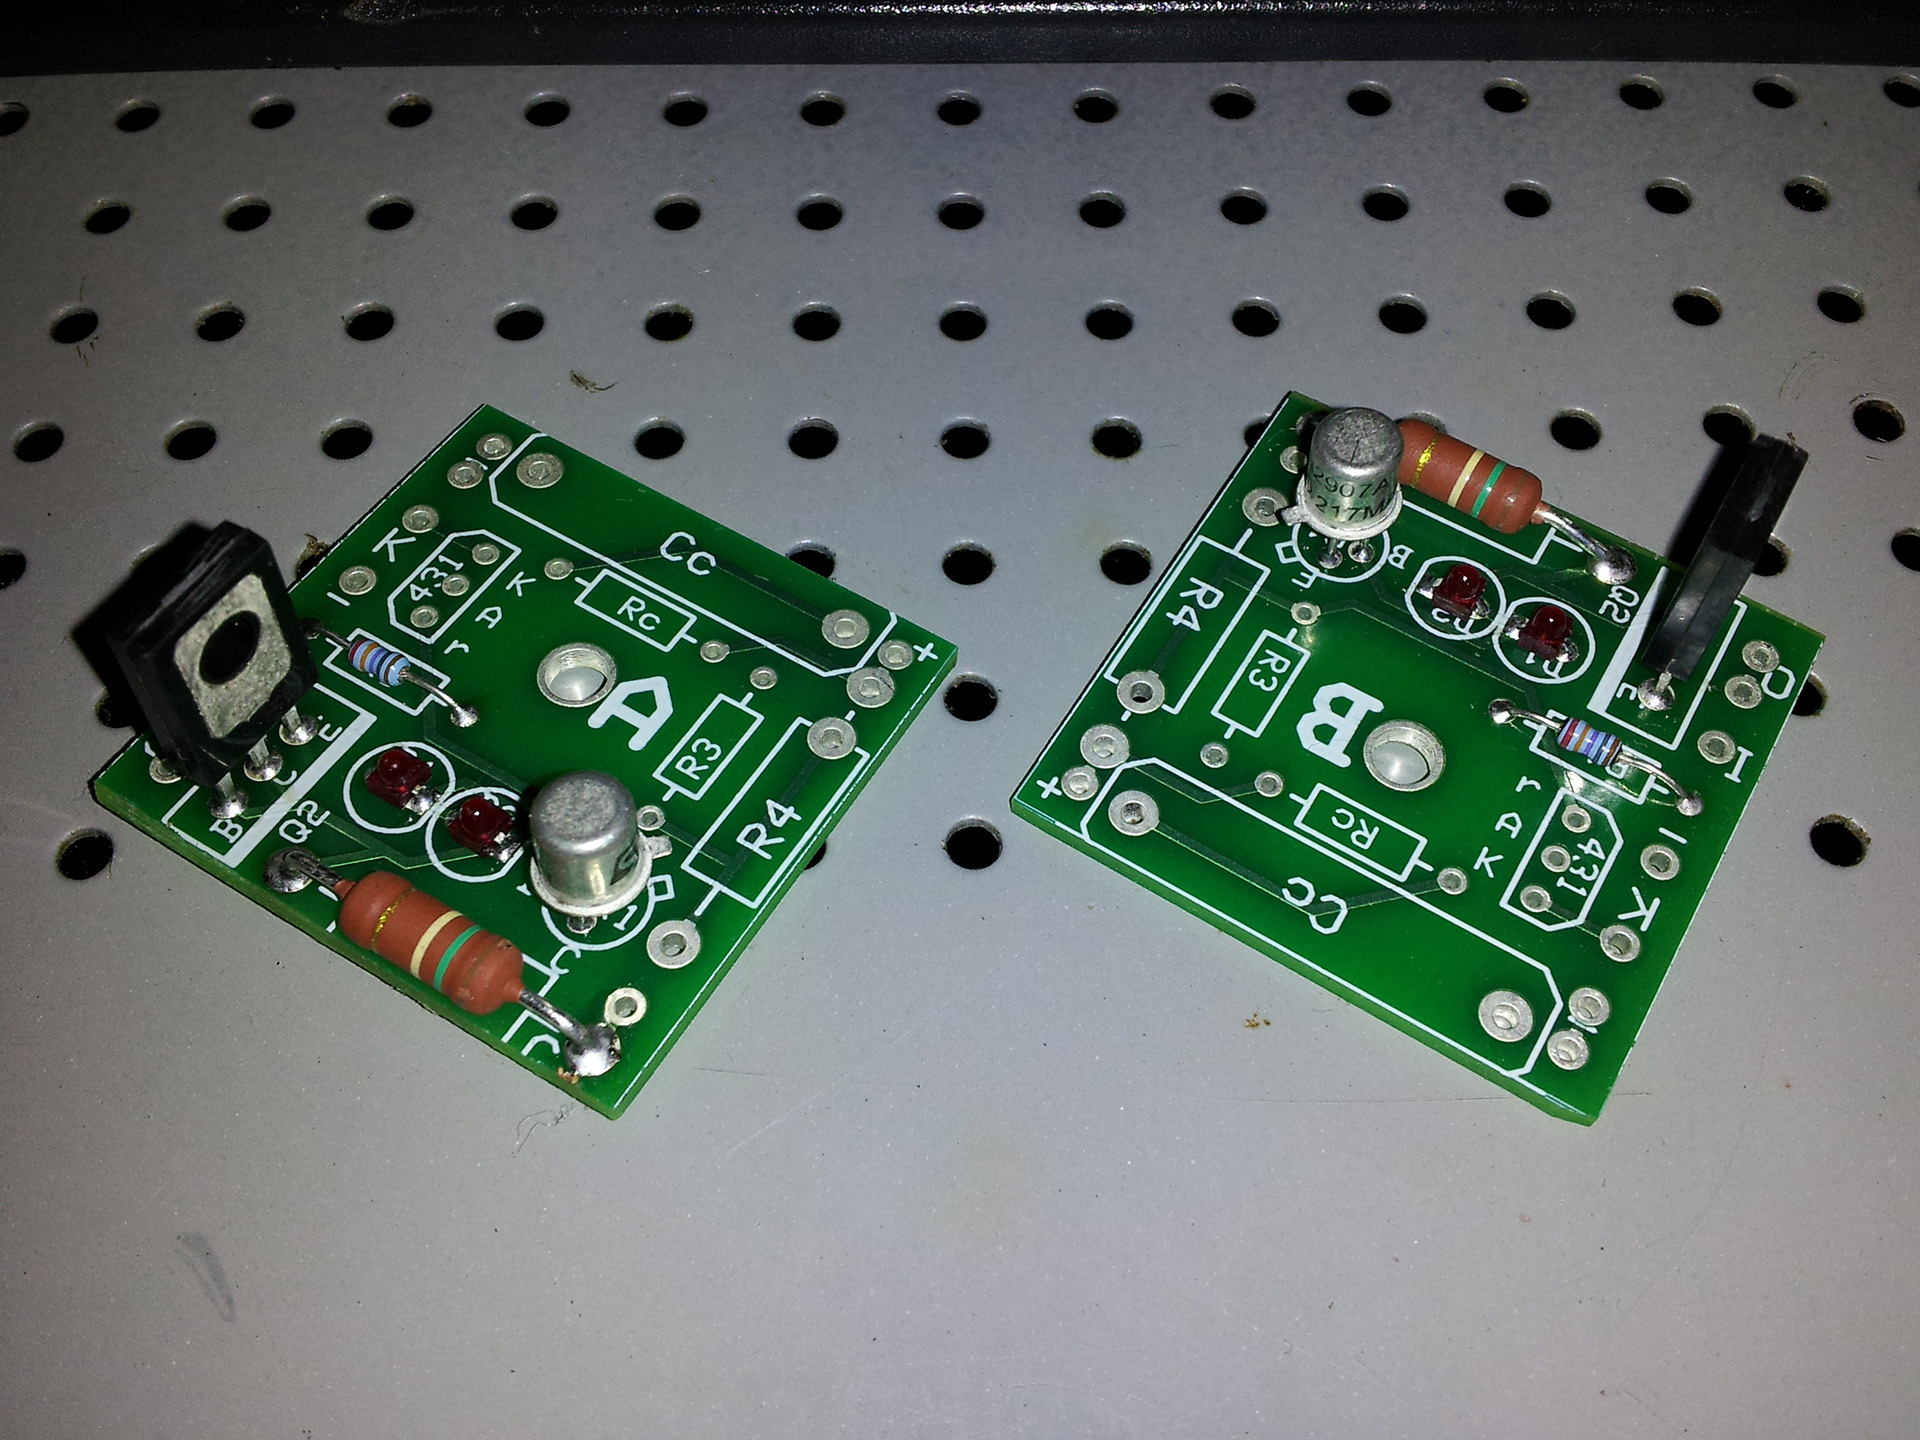
I got the board in the mail yesterday. I really enjoyed putting this together, and I was skeptical of the posts for the heat sinks being able to be soldered. I also took a picture of the on/off circuit PCB and the Alps PCB I made.

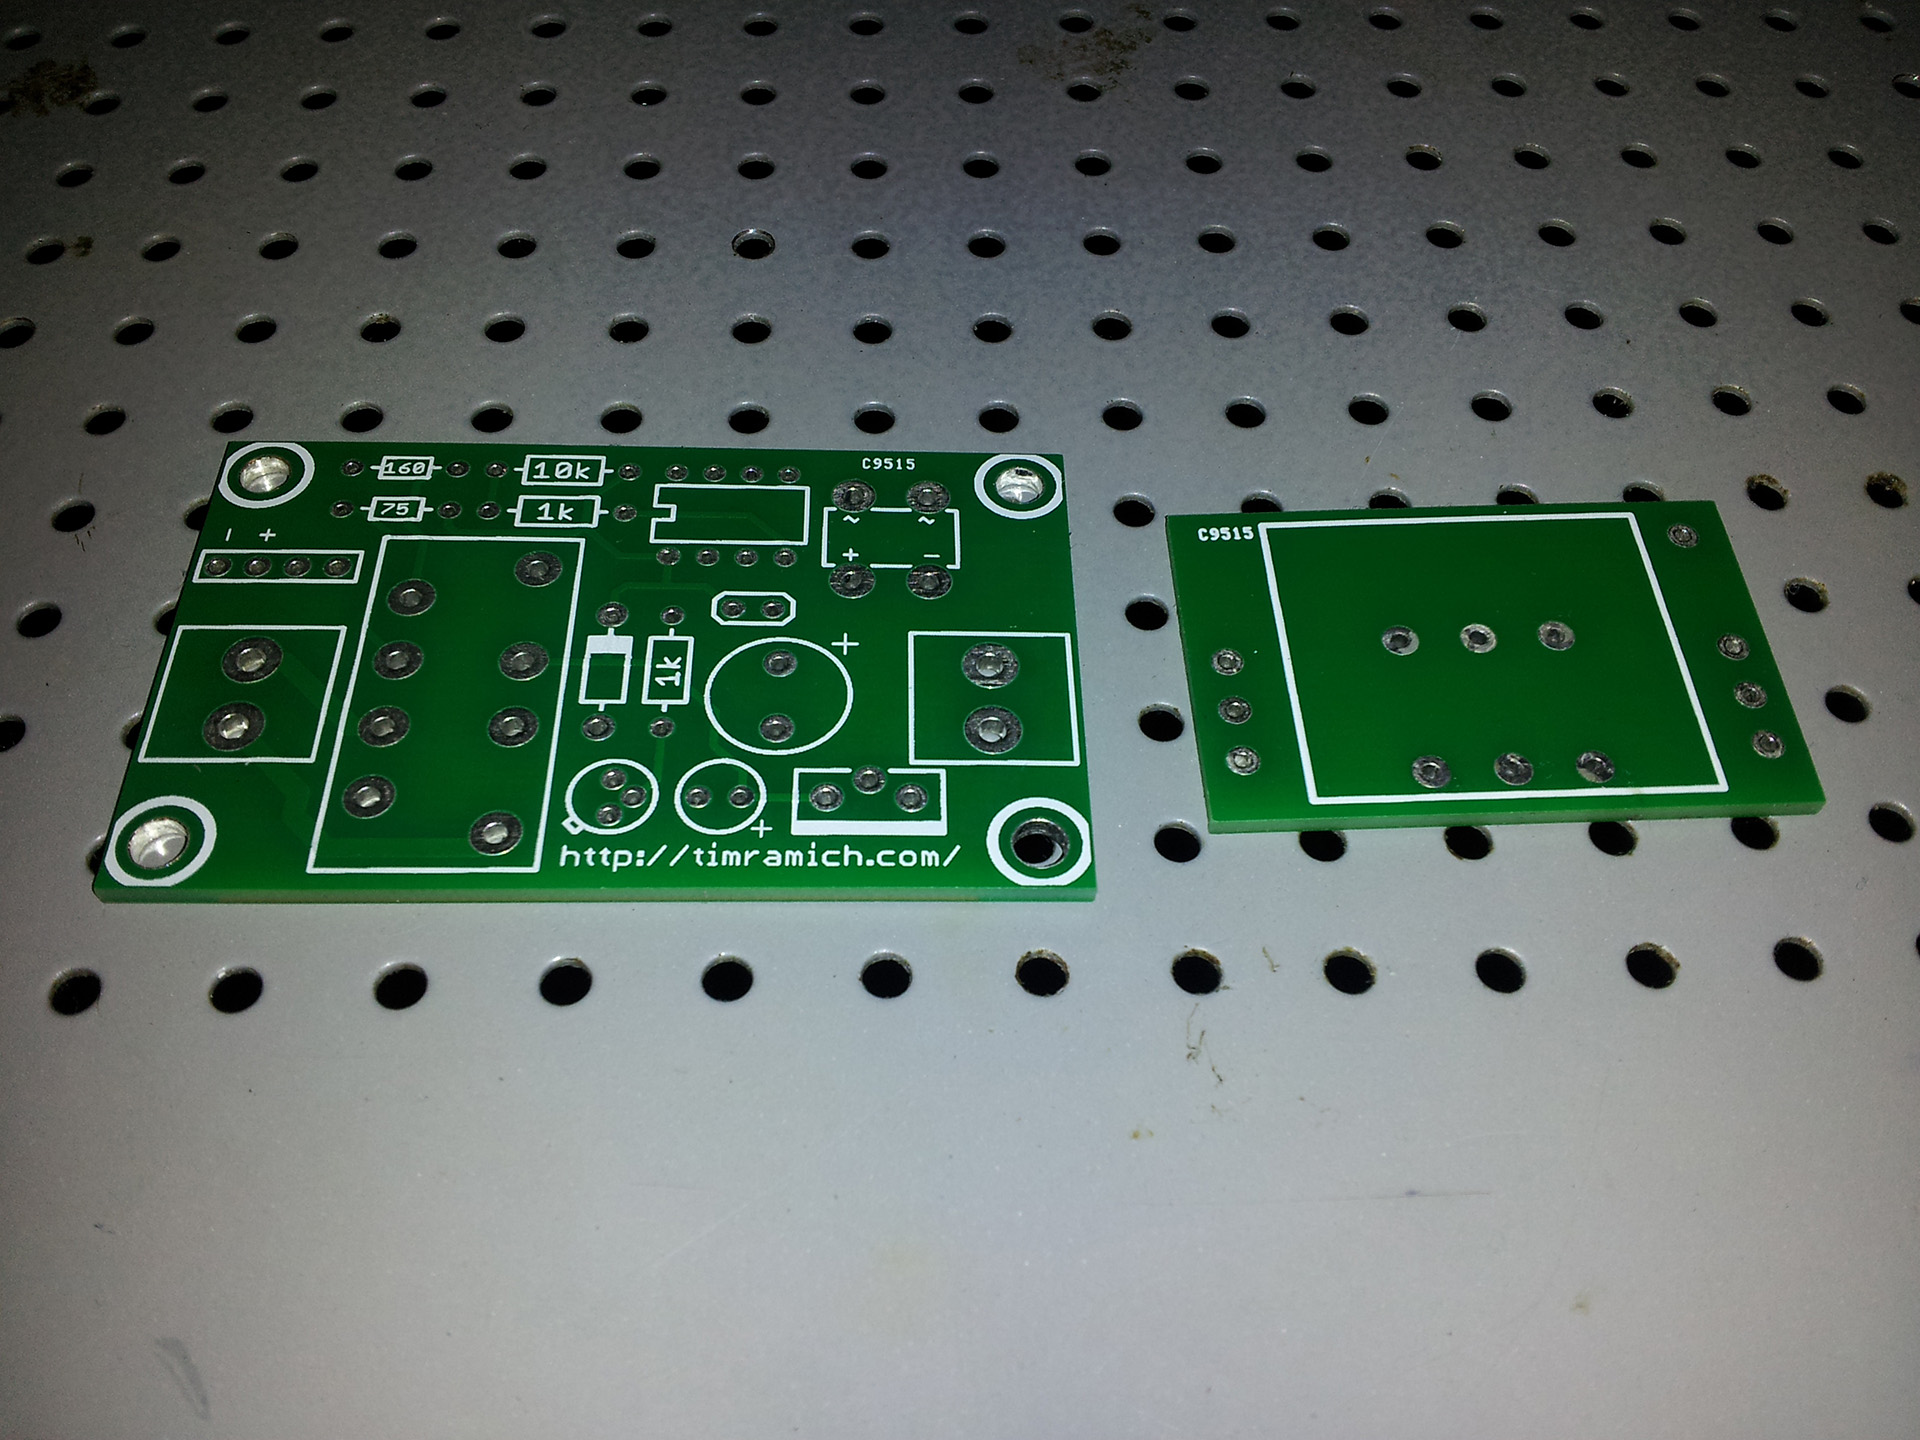
The Speedball is half built. They accidentally sent me two small boards and a small board before it's split apart. Just waiting on the proper board to arrive. I'm glad for the error because I didn't care for how they split the board. It looks like it was cut with something that incises instead of something like a saw, so I was able to split my own and I used a hack saw to get a nice edge. I still need to buy a powder coating kit, a toaster oven, and all of the Torx hardware from McMaster-Carr. A company is CNCing the bracket I designed for the 9-pin socket. The only other thing I need to do before I can sit down and start assembling is to machine (find someone to let me use a mill) an indent into the top plate for the headphone jack.
I got the top plate from the laser cutter today. This is it after some wet sanding.

I got the plate cut at Smucker Laser Cutting & Metal Fabrication, located in Lancaster, PA.
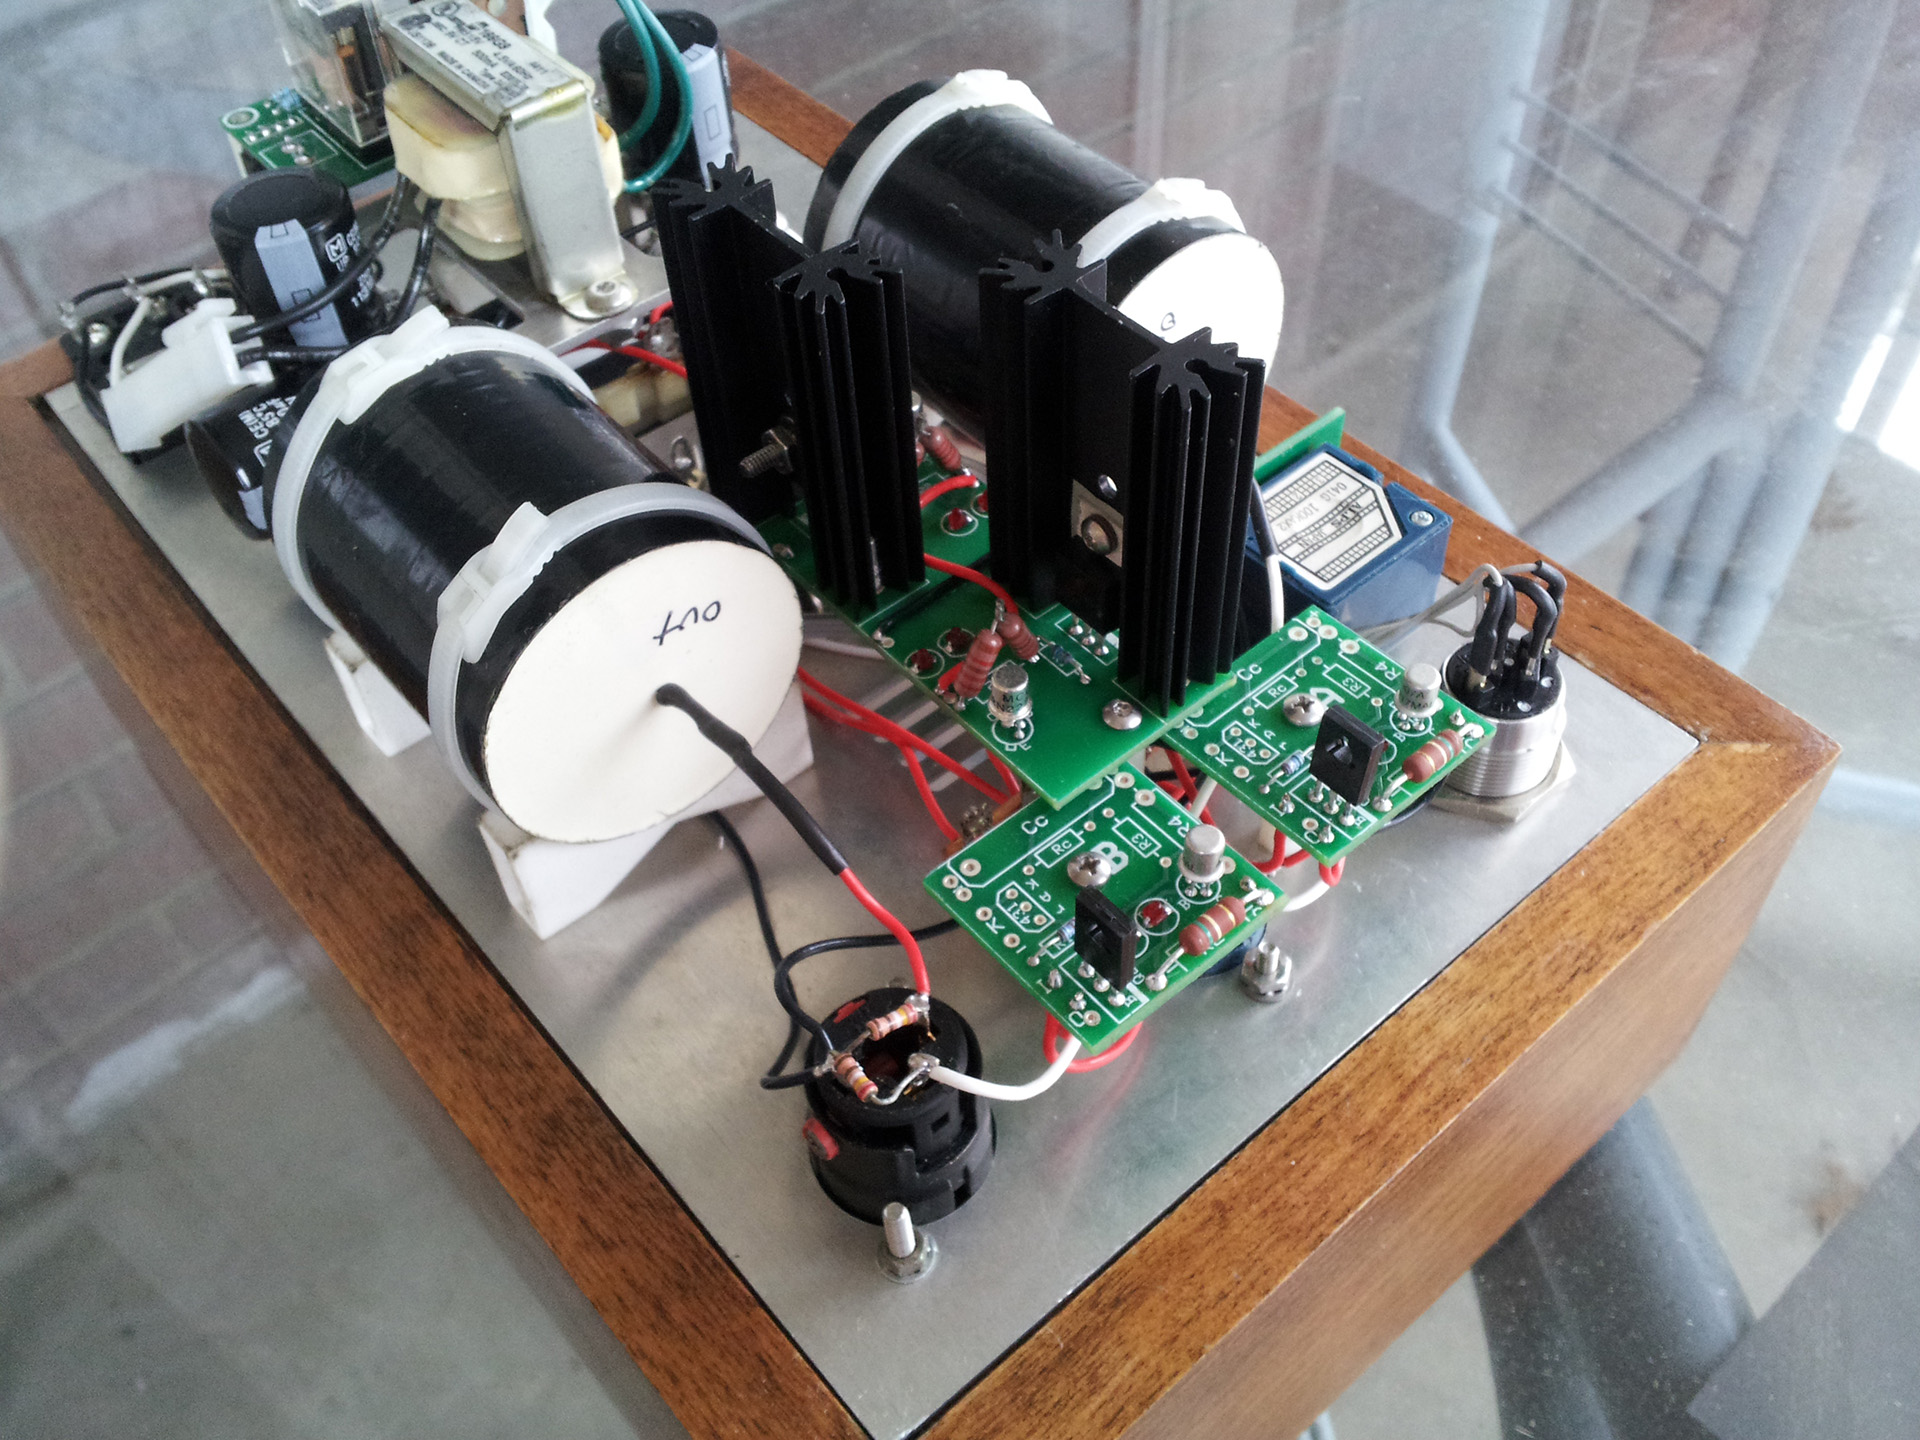
Finally, some real progress:
The transistor idea didn't work, neither. I ended up just adding another output to the program.

I got this on/off circuit set up on a breadboard today. The stupid voltage divider didn't work for the LEDs, so I have to try to use two transistors to control the LEDs. They are inside of the switch, by the way. I need to really start posting some pictures up here. Here is the new schematic. I haven't bought the transistors yet, but I am going to get some at RadioShack tomorrow. It should work, in theory.
Well, I got this PIC programmer, and with the help of this guy from the microchip forums named Dario Greggio I got the PIC to act as an on/off toggle with the off action requiring a button to be held down for a few seconds. I've since designed the PCB for the circuit. If anyone is interested in the circuit, PM me for more details. Getting a quantity of PCBs ordered would bring down the cost, greatly. I will draw and post up the schematic here later.
I was bored and felt like soldering the LEDs and ground wire to the center post I made.

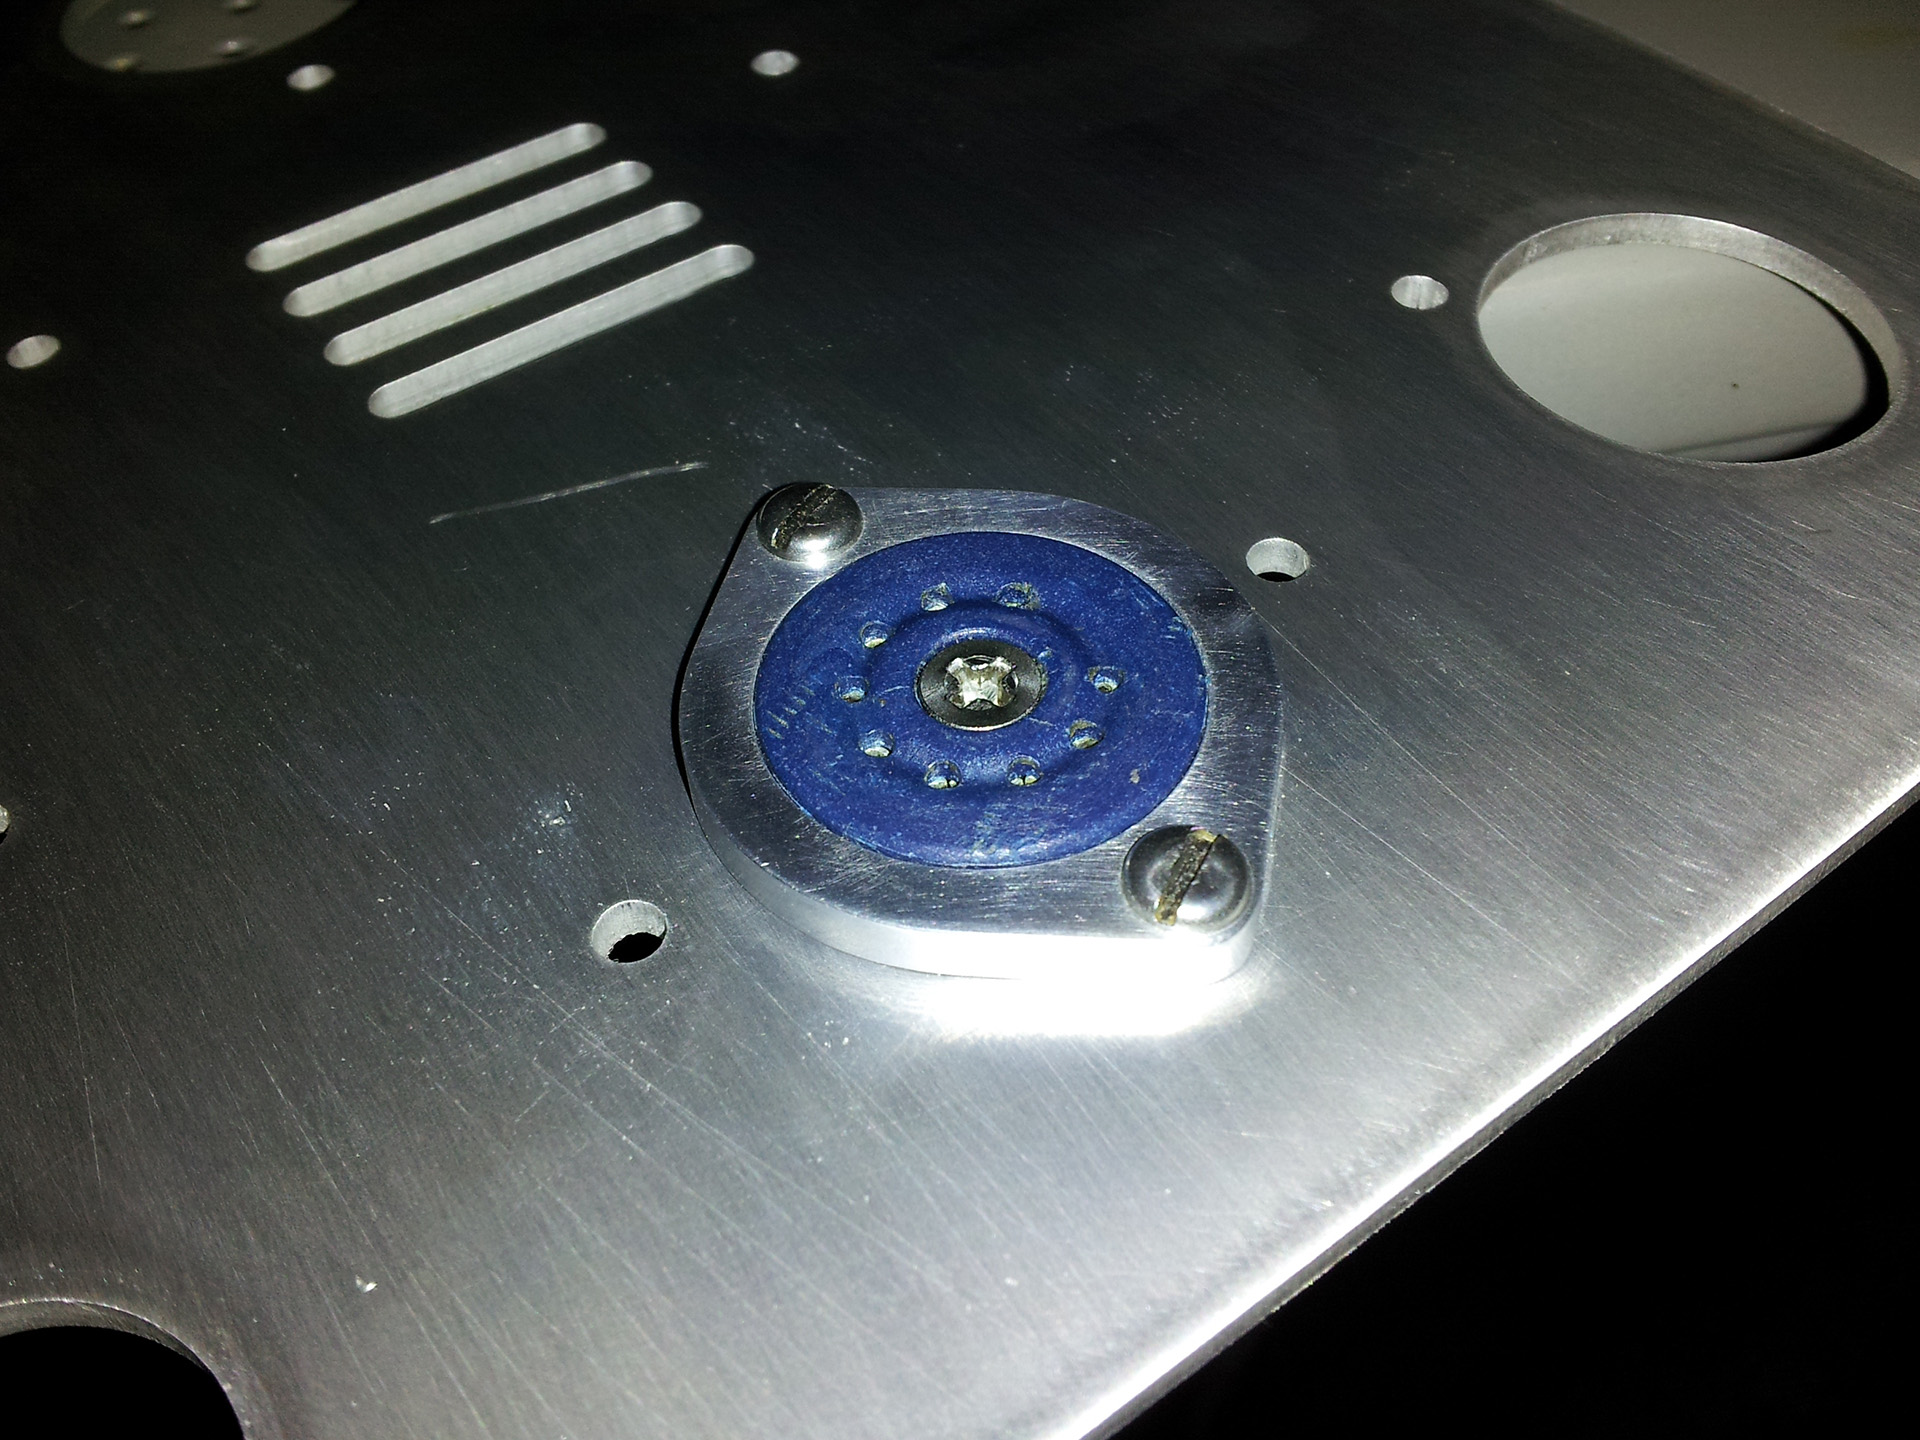
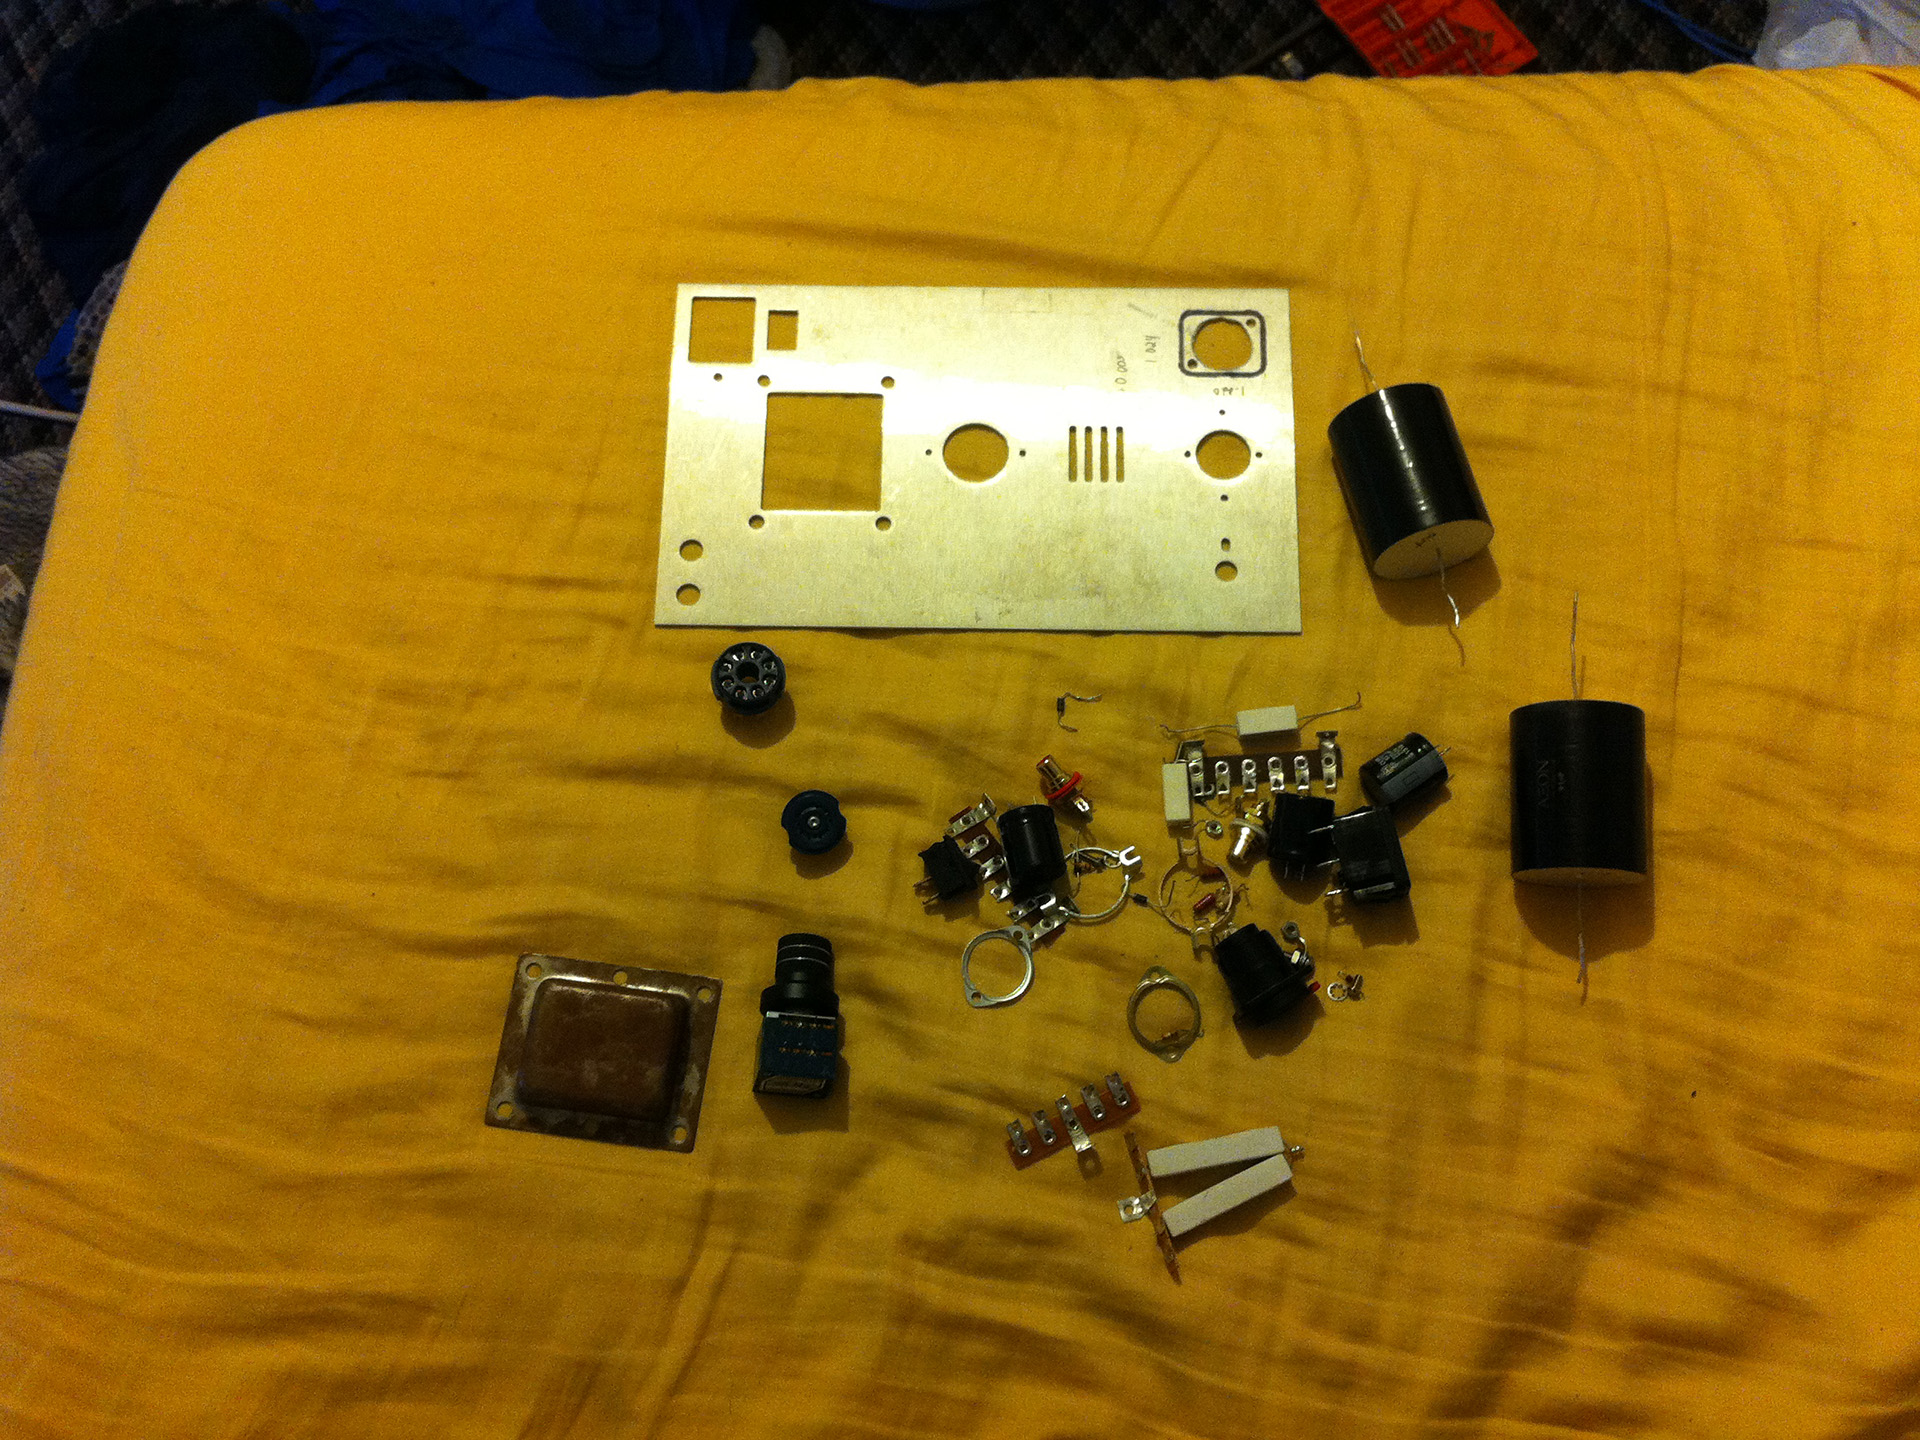
I got it all torn down days ago. I haven't decided if I am going to get another top plate laser cut or just modify this one. I want to go with a Bulgin switch, and not in the stock location. It's in a bad location where I have the amp sit I burn myself on the tube reaching for the switch to turn it off. I have a top plate designed in AutoCAD. I'm just waiting to hear from a place about laser cutting and if I need to add any considerations for beam width (maybe someone here could help me?). I drew everything literally the size I want it to wind up. The new tube sockets are smaller in diameter, so I ended up shrinking those holes in the drawing. I will still need a few more holes to mount a board that does the on/off latching and delays the signal to the headphones because I don't feel like putting the massive effort into pressing the latch to remove the headphones every time I turn it off, and I don't feel comfortable leaving them plugged in when I power it on.
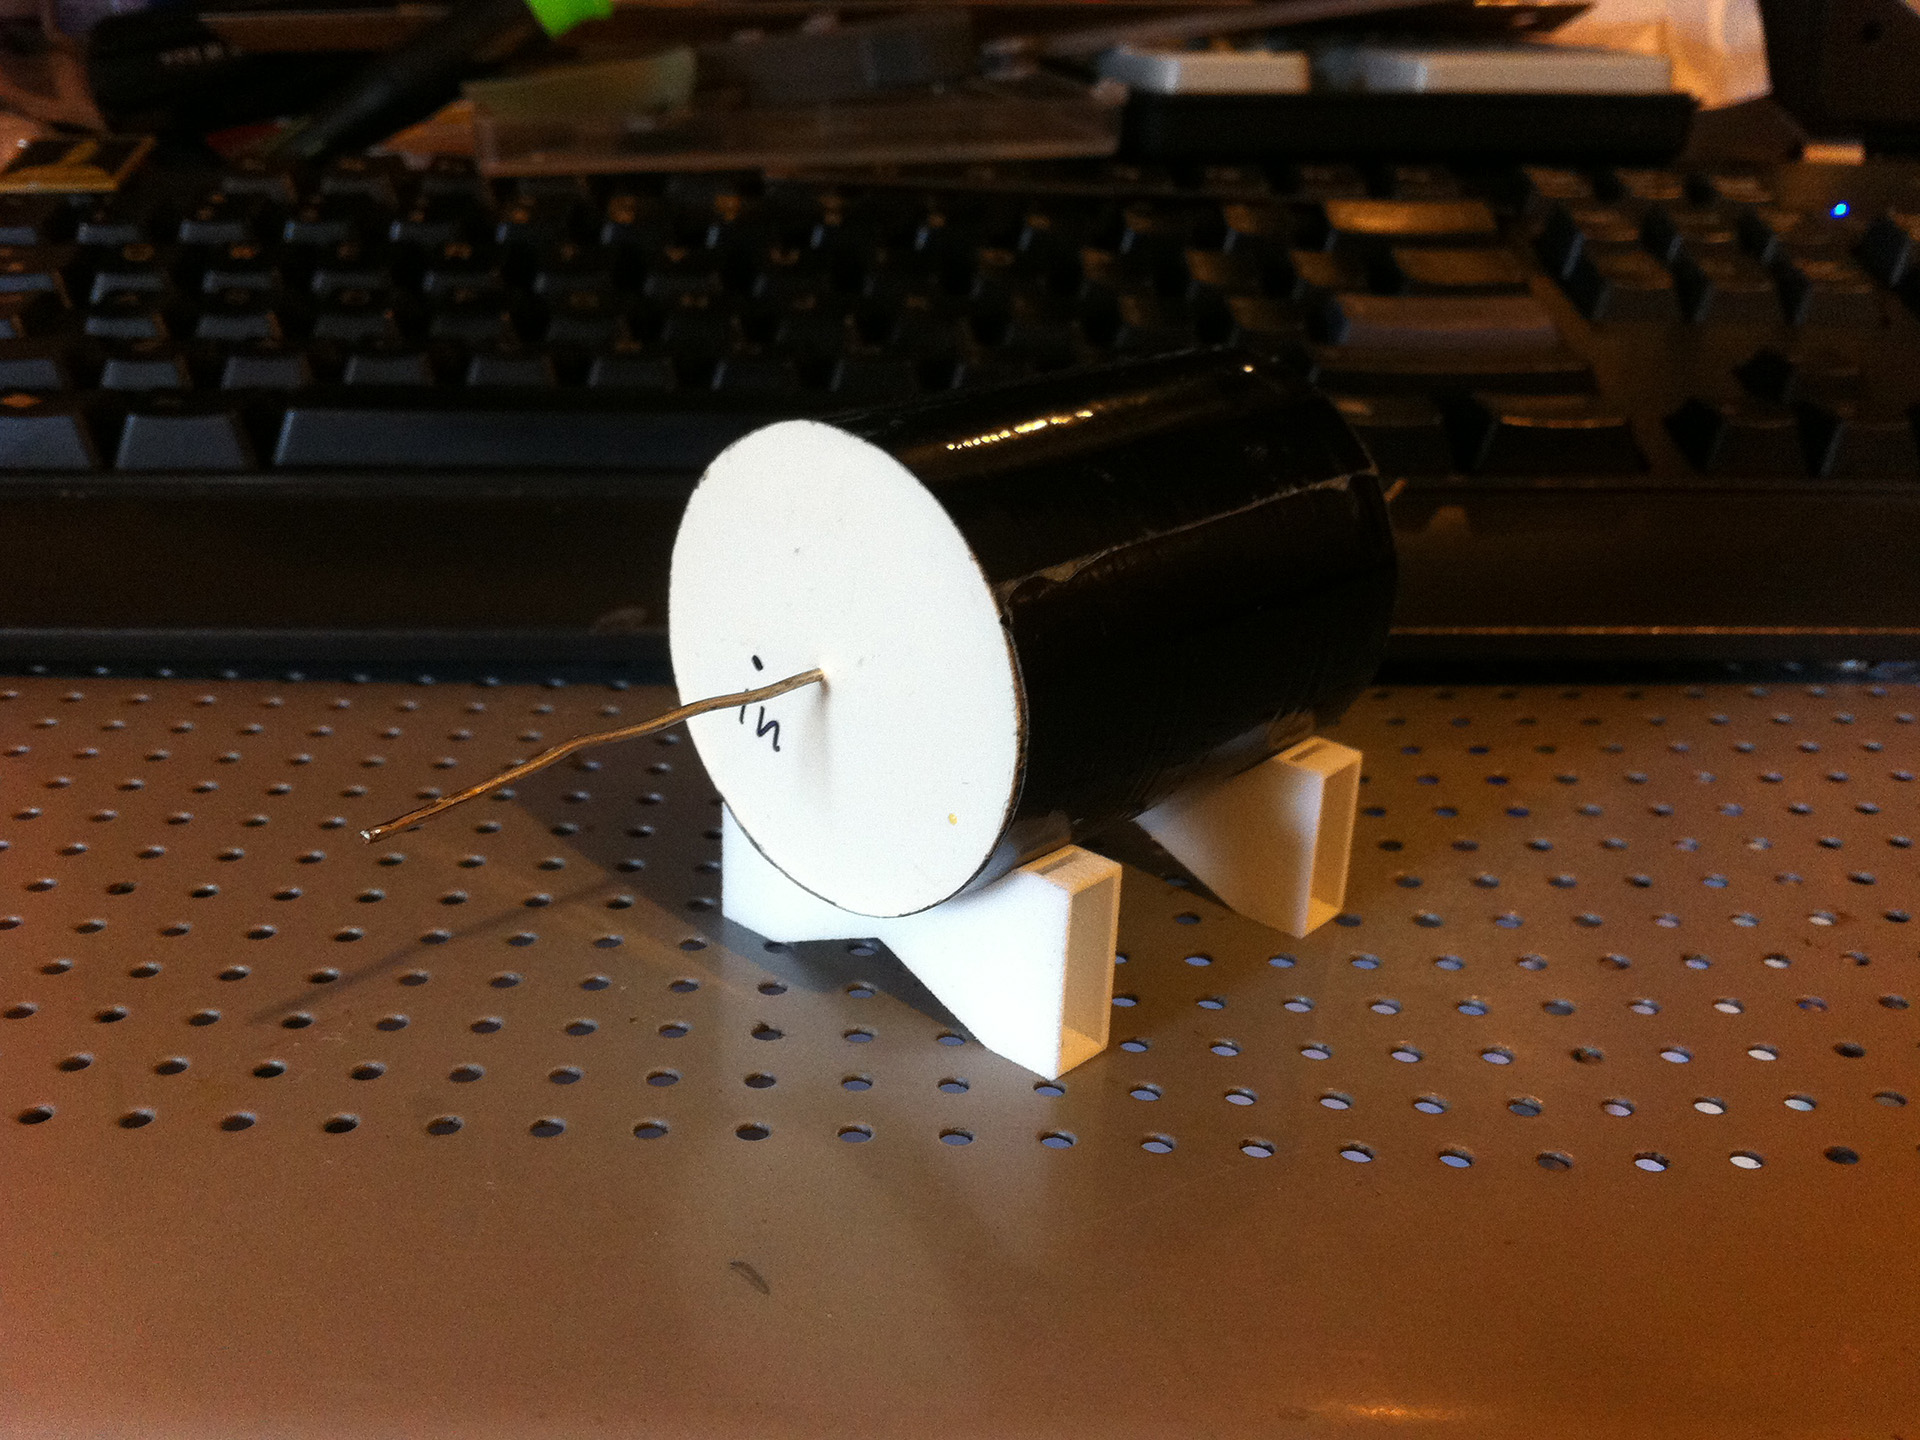
The transformer end bell ended up ugly and rusty with all of the skin oils from handling. Oh well. That's getting powder coated and it was the plan from the get-go.

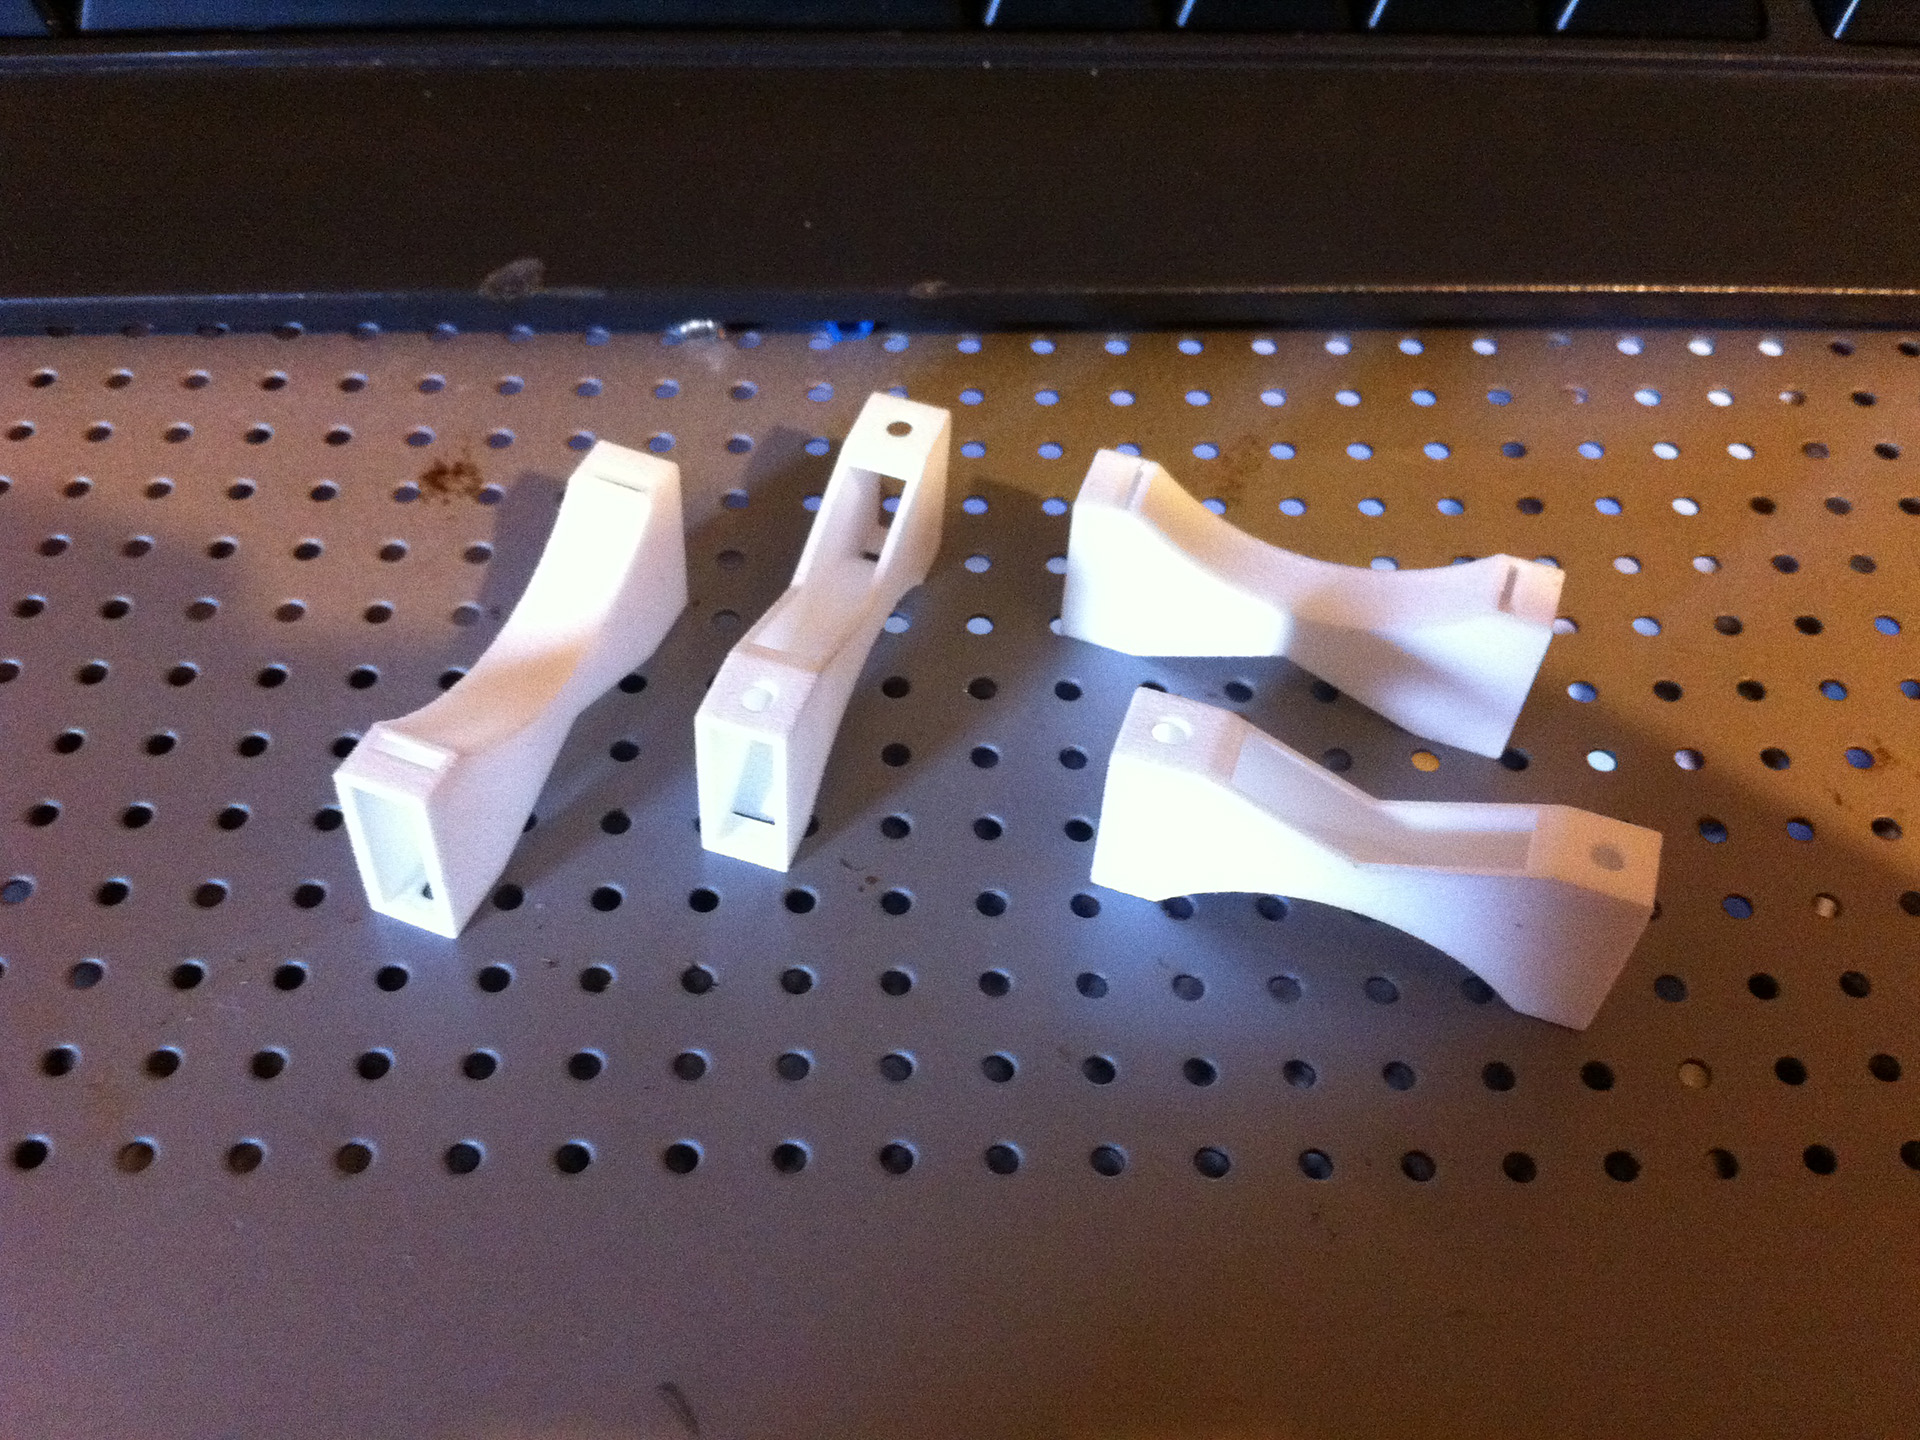
I got the capacitor brackets from Shapeways today.
I bought a Crack off ebay some time ago, pre-built. It came with AΞON output capacitors. I've since replaced the RCAs with Neutrik ones and the headphone jack with a Neutrik latching jawn. The octal tube socket just plain sucks and the signal started becoming intermittent, so I took the amp out of commission and I am going to do a whole slew of things to it.
So far I'm impressed with the amp. I didn't think the sound would change that much from the on-board amp on my STX card. Naysayers obviously don't understand that impedance is only measured at one frequency point and high-impedance headphones like my HD-650s are quite demanding of power for bass. You need a healthy reserve of power to drive low frequencies. More Updates to come.